

Hello! Welcome to Kylie Bertucci’s Demonstrator Training Blog Hop for September. This is the last hop for the 2020-2021 year. I’m part of a group of Stampin’ Up! demonstrators from around the world that participate in Kylie’s program for building our businesses. The theme for this year is thank you cards that we make as a way to show appreciation to our customers and teams. Please be sure to click on the names in the list at the end of this post to hop around and view the beautiful projects created by so many talented stampers.
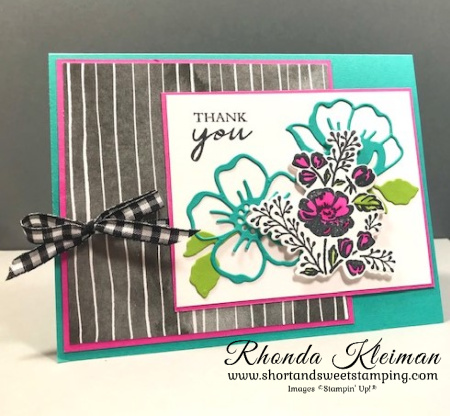
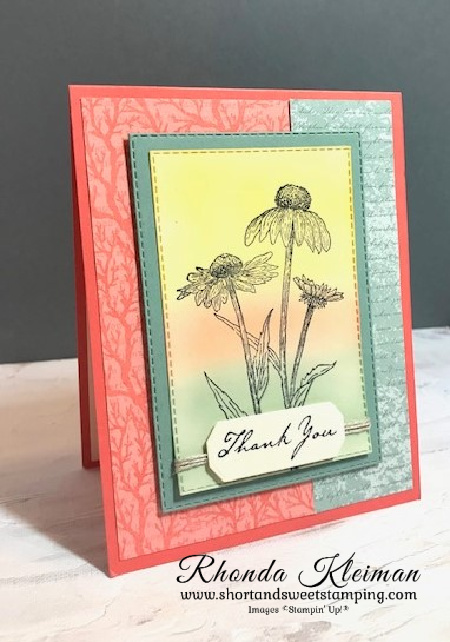
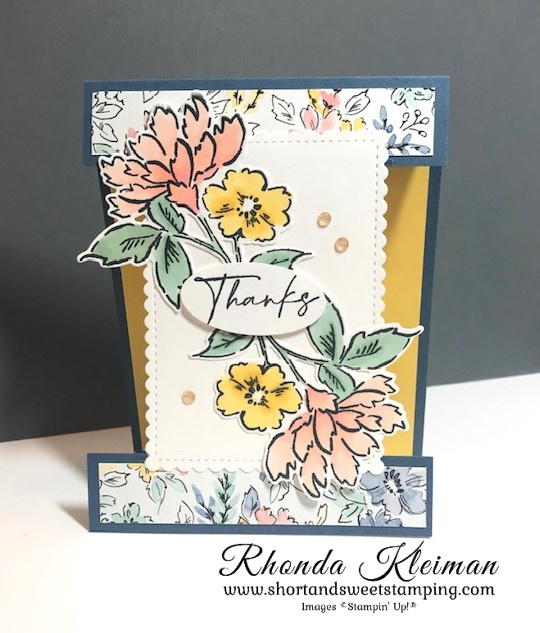
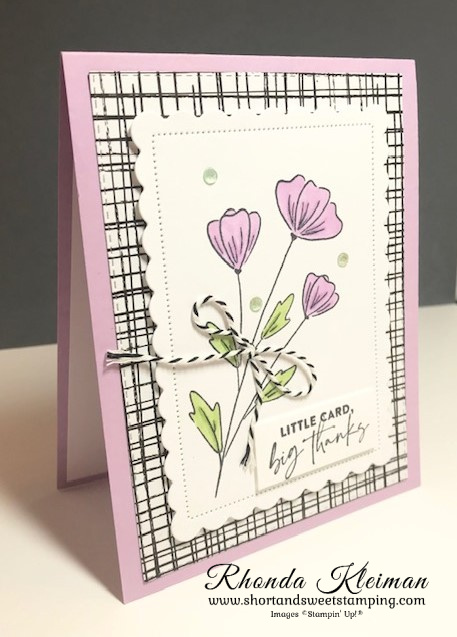
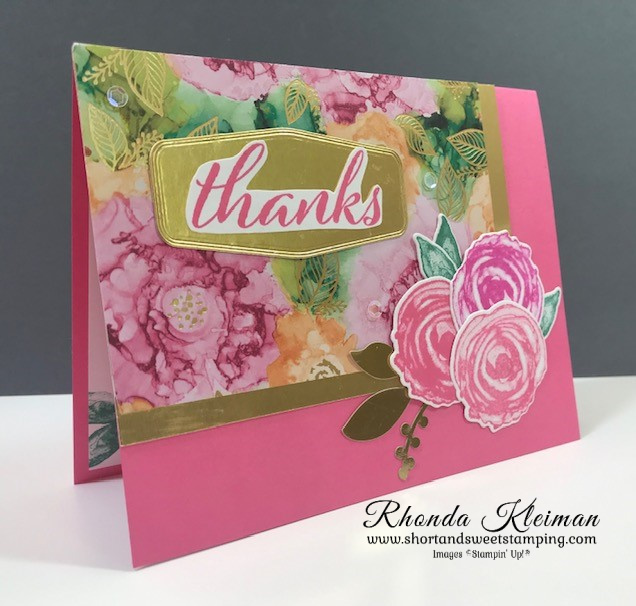
Today’s card features the Shaded Summer Stamp set in the annual catalog, along with the Summer Shadows Dies that you can earn for free with a $100 purchase during Sale-a-Bration through the end of September. The Beautifully Penned Designer Series Paper is also a Sale-a-Bration item that you can earn with a $50 purchase. I decided to go with bright colors and used Magenta Madness as one of them. As I was going through all of my cardstock recently to see what needed to be replenished, I saw that I barely made a dent with this one. As much as I love bright colors, this is way bright even for me!
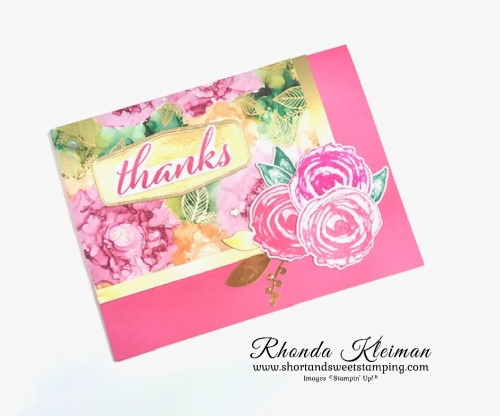
Here is how I made the card.
- Card base – cut a piece of Bermuda Bay cardstock at 5 1/2″ x 8 1/2″, score at 4 1/4″, fold and crease with a bone folder.
- Cut two pieces of Magenta Madness cardstock, one at 4″ x4″ and one at 3 1/8″ x 3 7/8″.
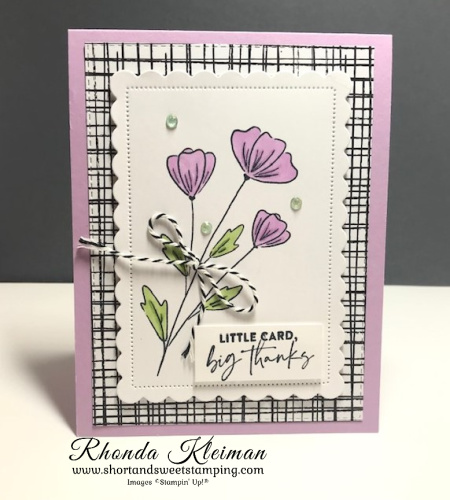
- Cut piece of Beautifully Penned DSP at 3 7/8″ x 3 7/8″ and adhere to the 4″ square piece of Magenta Madness cardstock. Tie a bow around this piece with the black & white gingham ribbon. Adhere piece to card base.
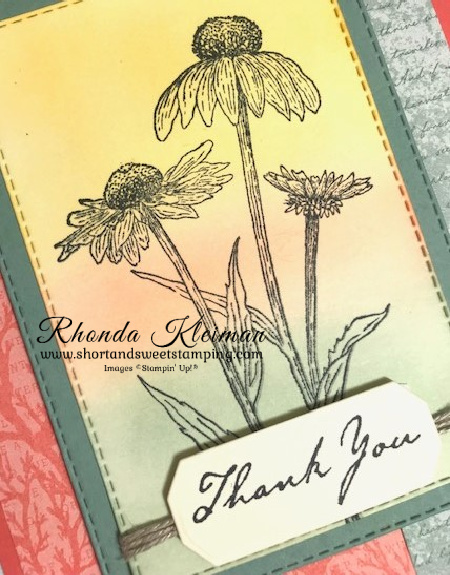
- Cut a piece of Basic White cardstock at 3″ x 3 3/4″. Stamp thank you from the Shaded Summer stamp set with Tuxedo Black Memento ink in upper left corner.
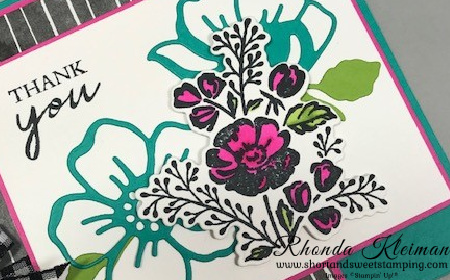
- Stamp the small floral image from the stamp set with the Memento ink onto a piece of Basic White cardstock. Color the flowers with the light and dark Magenta Madness Stampin’ Blends. Color the leaves with the light and dark Granny Apple Green Stampin’ Blends. Run through die cutting machine with the coordinating die from the Summer Shadows dies.
- Back two scrap pieces of Bermuda Bay cardstock with an adhesive sheet cut to size. Run two different flowers through die cutting machine. Die cut two of the small solid leaves from scrap pieces of Granny Apple Green cardstock. Pull adhesive sheet backings off the flowers and adhere the leaf stems to the backs of each. Apply a few small dots of liquid glue to the leaves and adhere the flowers to the greeting piece.
- Adhere the floral image over the die cut flowers with Stampin’ Dimensionals. Adhere piece to te 3 1/8″ x 3 7/8″ piece of Magenta Madness cardstock. Adhere piece to card front, overlapping the square piece.
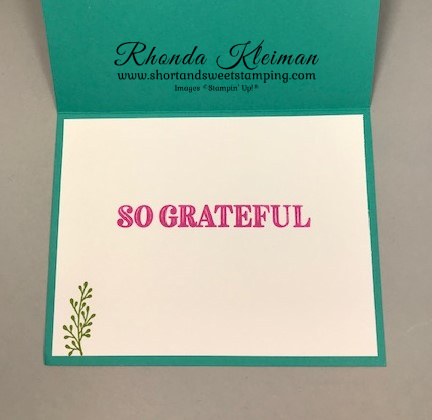
- For the inside of the card, cut a piece of Basic White cardstock at 4″ x 5 1/4″. Stamp the “so grateful” greeting from the Ornate Thanks stamp set with Magenta Madness ink. Stamp the sprig from the Shaded Summer stamp set with Granny Apple Green ink in lower left corner. Adhere to card.
Thanks for stopping by today!


Join Stampin’ Up! now through September 30th. You get to select $125 worth of products for only $99 and will also get a FREE bundle from the Holiday Catalog! Everything ships for free. I’d love to have you join my team. Become a happy discount shopper or build a business – the choice is yours! Click here for the benefits of joining Stampin’ Up!
Here is a list of bundles you can select from.


Place an online order between $50 and $149 and use this host code for September. You will receive a free gift from me the following month. If your order is $150 or more DO NOT use the host code. You will qualify for Stampin’ Rewards.
Product List  |  | |
 | ||
 | ||
 |  |  |
 |  |  |
 |  |
")
 Designer Series Paper")


 Gingham Ribbon")


")
")


 Designer Series Paper")


")


")


 Host Designer Series Paper")


")


 Designer Series Paper")


")
")


 Specialty Designer Series Paper")


