
Hello!
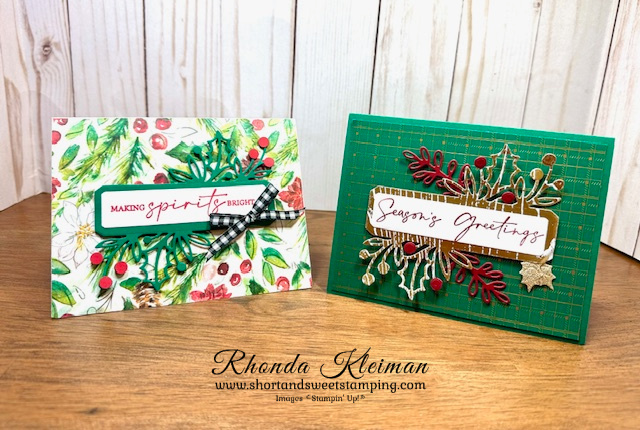
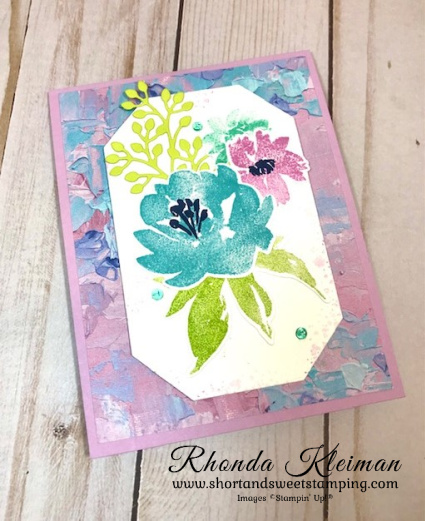
Today’s card features the Forever Forest Bundle and Winter Meadows Designer Series Paper from the 2023 Holiday Mini Catalog. This is my last post featuring products from this catalog, which will be retired as of January 3, 2024. The Forever Forest Bundle will be retiring, however, the Winter Meadows DSP will be carrying over either into an upcoming catalog or as an online exclusive. Sometimes I have an idea and a vision of what my completed card will look like, but it doesn’t always turn out this way. I’m glad that it was not the case for this card – I think it came out even better than how I pictured it! I apologize for the quality of the photos. I had a hard time with the lighting as I’m still working through adjusting to new lights in my renovated space, which is where I take my pictures.
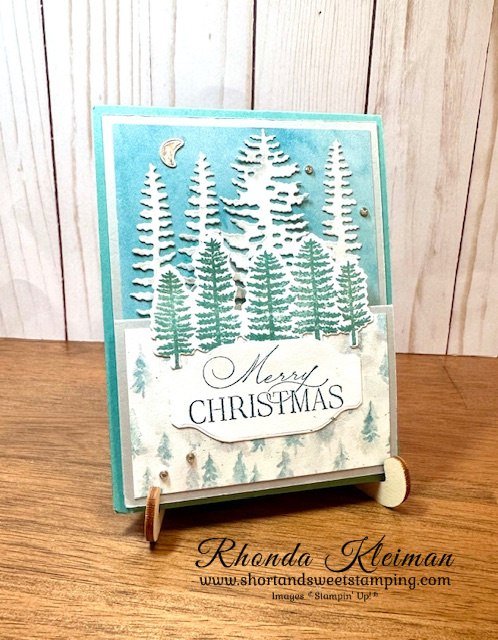
Here is how I made the card.
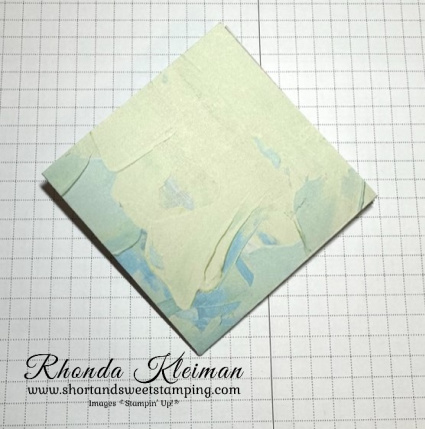
- Card base – Cut a piece of Lost Lagoon cardstock at 4 1/4″ x 11″, score at 5 1/2″, fold and crease sharply with a bone folder
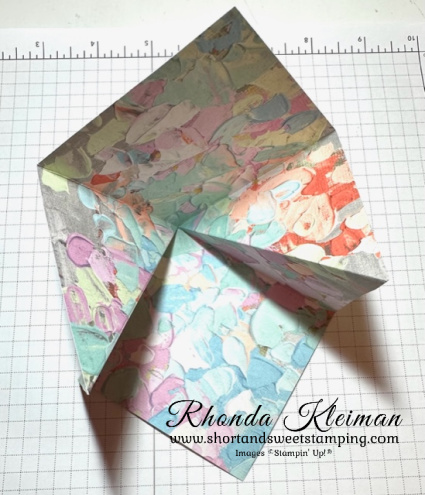
- Z Fold – Cut a piece of Smoky Slate cardstock at 4″ x 10 1/4″. Score at 2 1/2″ and 5 1/2″ , fold at score lines and crease sharply.
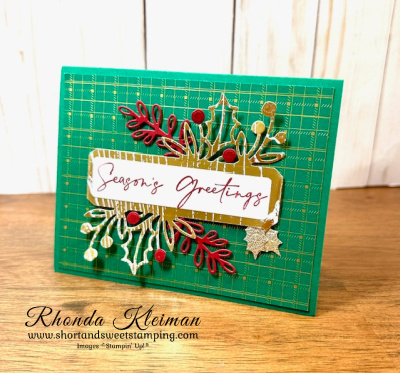
- Cut a piece of Lost Lagoon background paper from the Winter Meadows DSP at 3 3/4″ x 5″ and adhere to the 5 1/4″ section of the Smoky Slate fold. Cut a piece of the Lost Lagoon tree paper at 2 1/4″ x 3 3/4″ and adhere to the bottom flap of the Smoky Slate fold.
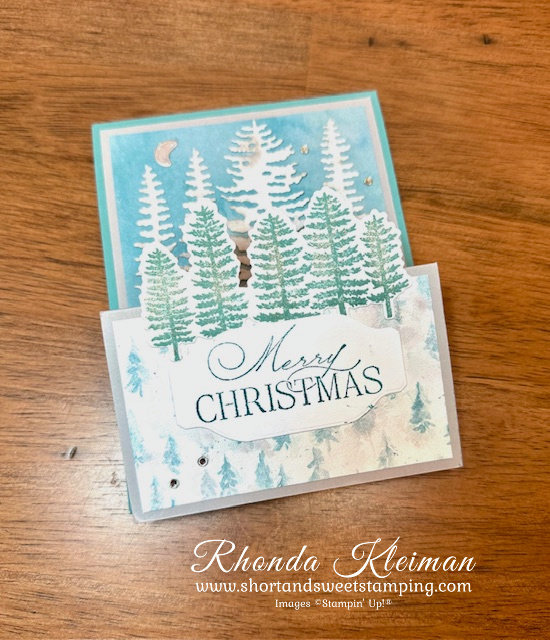
- Stamp the five-tree image in Lost Lagoon ink on piece of Basic White cardstock measuring 2 1/2″ x 3 3/4″. Run through die cutting machine with coordinating die. Add shimmer with Wink of Stella. Adhere to top of the bottom fold so that the tree tops extend past the fold.
- Stamp greeting on scrap piece of Basic White cardstock. I used the Merry Christmas greeting from the Brightest Glow stamp set, which is available in the 2023-2024 Annual Catalog. This is a great go-to stamp set for Christmas & Seasonal Greetings. Run through die cutting machine with die from Something Fancy Dies. Adhere to bottom flap over the tree trunks.
- Use the three largest single tree dies. Cut one of the largest, two of the second largest and one of of the third largest. Use a small blending brush and lightly brush Smoky Slate ink around the edges of all of the trees. Continue to build up the ink until you get the ink dark enough that you can see that it has accented the trees. Brush with Wink Stella.
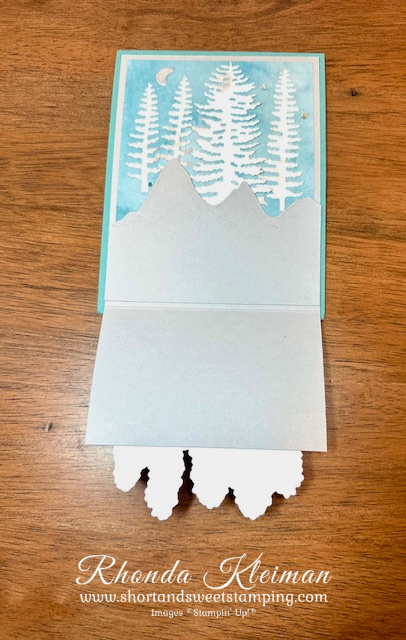
- Cut a piece of Smoky Slate cardstock at 3 1/4″ x 4″ and run through die cutting machine with the mountain die. Position the die on the cardstock so that the largest peaks are cut out.
- Adhere trees to the Lost Lagoon background DSP piece. Adhere mountain die cut at the bottom of the inner Z fold, so that the mountain tops overlap the bottoms of the trees.
- Run the small moon die through the die cutting machine with a scrap piece of Silver Foil paper and adhere on tree piece. Adhere a few Rhinestone Basic Jewels for some additional bling.
- Adhere the Z fold piece to the Lost Lagoon card base.
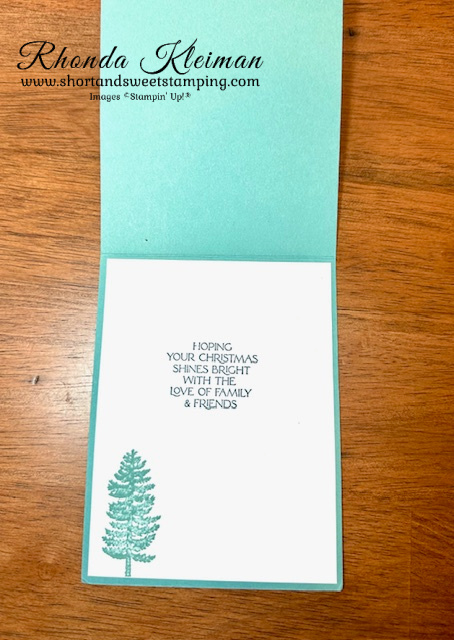
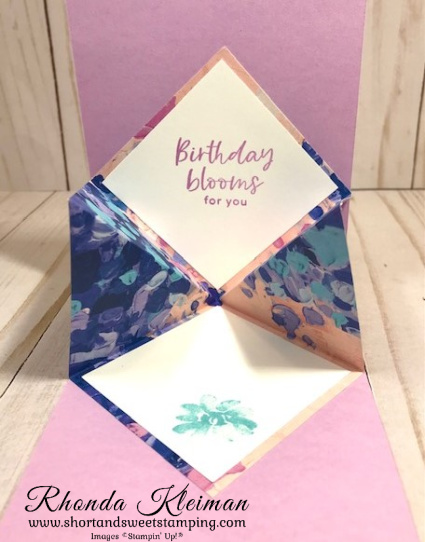
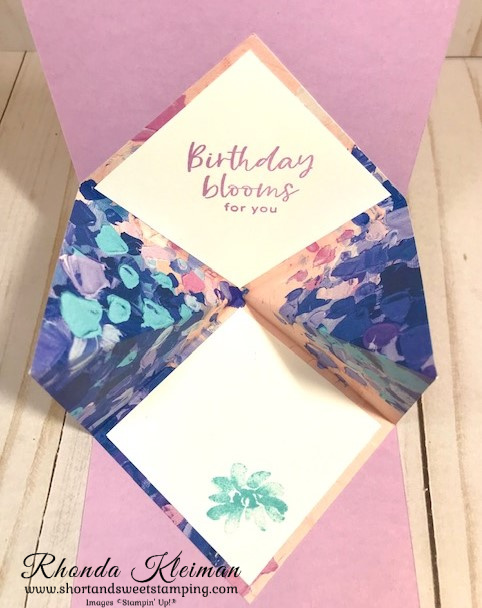
- For the inside greeting, cut a piece of Basic White cardstock at 4″ x 5 1/4″. Stamp with a greeting from the Brightest Glow stamp set with Lost Lagoon ink. Stamp large tree image with Lost Lagoon ink in bottom corner. Adhere to the inside of the card.
Thanks for stopping by today! Wishing you a very Happy New Year and all the best in 2024!


Place an online order between $50 and $149 and use this host code for December. You will receive a free gift from me the following month. If your order is $150 or more DO NOT use the host code. You will qualify for Stampin’ Rewards.
Product List  |  | |
 |  | |
 |  | |
 | ||
 |  | |
 |  |  |
 |  |
")
 Designer Series Paper")
 Specialty Pack")


")
")
")

")
 Specialty Designer Series Paper")
 Designer Series Paper")


 Gingham Ribbon")


")


 Specialty Designer Series Paper")
 Specialty Designer Series Paper")


 Glittered Ribbon")
 Textured Ribbon")


")


")
")

 Designer Series Paper")


")


