
Hello!
Stampin’ Up! has introduced this beautiful new Cozy & Bright Card Kit and it is now available for purchase.

The kit has everything you need to make twelve 5 1/2″ x 4 1/4″ cards. It includes a photopolymer stamp set, acrylic block, adhesives, preprinted card bases, die cuts and stickers, Poppy Parade Stampin’ Spot, gold foil accents, preprinted envelopes, linen thread, as well as step-by-step instructions. Product colors: Cajun Craze, Early Espresso, Evening Evergreen, Garden Green, Poppy Parade, Pumpkin Pie. The cost of the kit is $23.00 and the item number is 160338. Click here to place your order in my online store. This kit is available only while supplies last. I’m placing my order today!!


Watch this video as Sara Douglas, Stampin’ Up! CEO shows you how to put together the cards in the kit.
Sale-A-Bration is going strong and 10 new products from the annual catalog have been added as freebies! When you place an online order that qualifies for Sale-A-Bration items, please be sure to use the item numbers listed in the flyer below in order to redeem them as SAB rewards, as they are different than the item numbers listed in the annual catalog!

Earn these gifts with a $50 purchase:
- Timber 3D Embossing Folder
- Silver Foil 12″ x 12″ Specialty Pack
- Gingham Embossing Folder
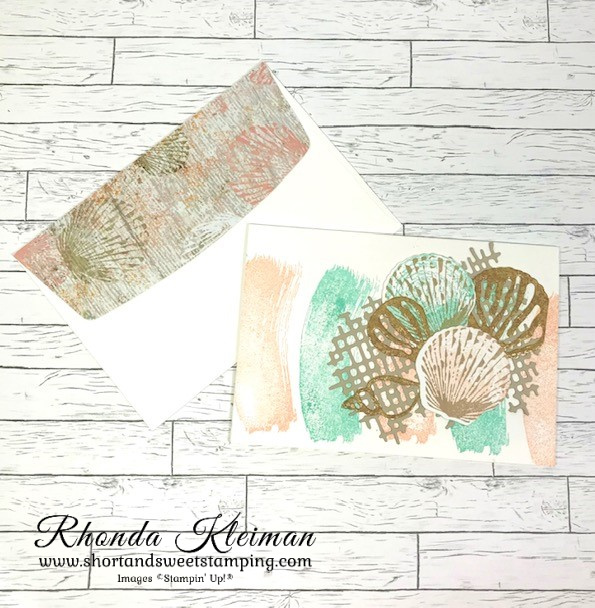
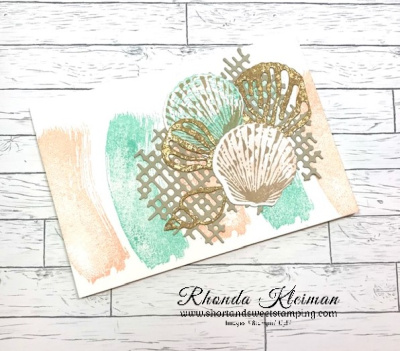
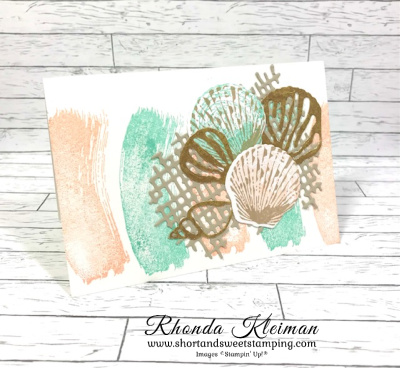
- Seashells 3D Embossing Folder
- Kraft Boxes
- Brushed Metallic 12×12 Cardstock
Earn these gifts with a $100 purchase:
- Flowers of Home Dies
- Dots & Spots Die
- Daffodil Dies
- Aspen Tree Die
Thanks for stopping by today!


")
")


")
")
")


 Designer Series Paper")


")
")


 Designer Series Paper")


 Gingham Ribbon")

")
")
")

 Specialty Designer Series Paper")
 Specialty Paper")


