Wishing you a very Merry Christmas! May your holiday season be filled with peace, love and joy. Wishing you all the best in the New Year!
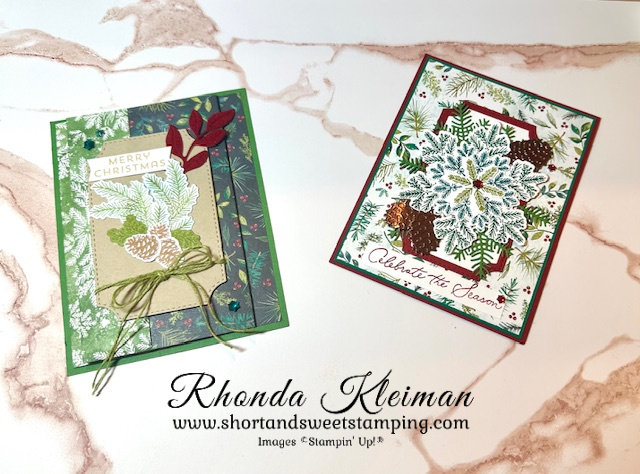
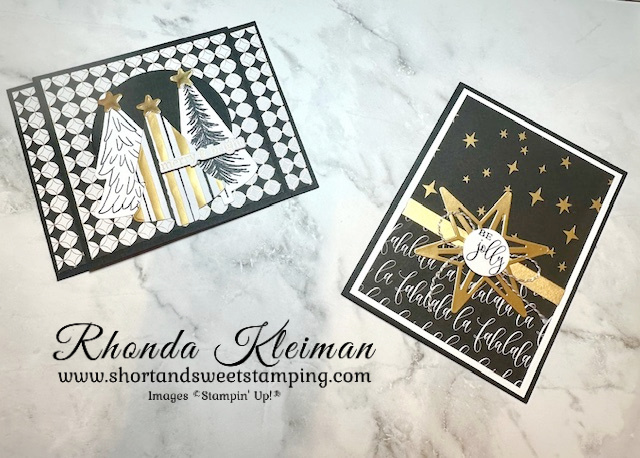
These are a few of the cards we made at my holiday card making classes this year. We used the Elegant Pine Snowflake and Modern Christmas Suites, both of which are Online Exclusives.
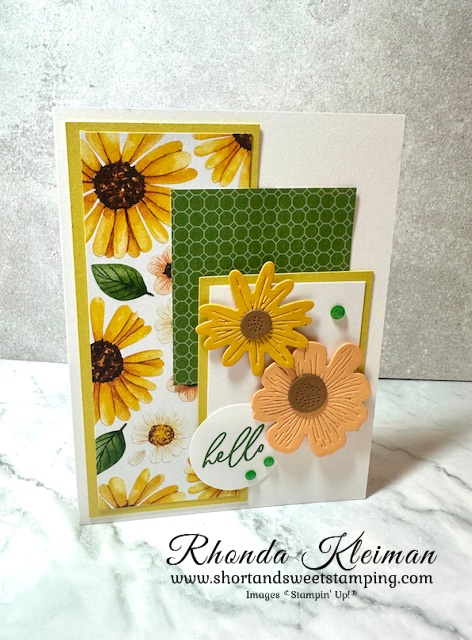
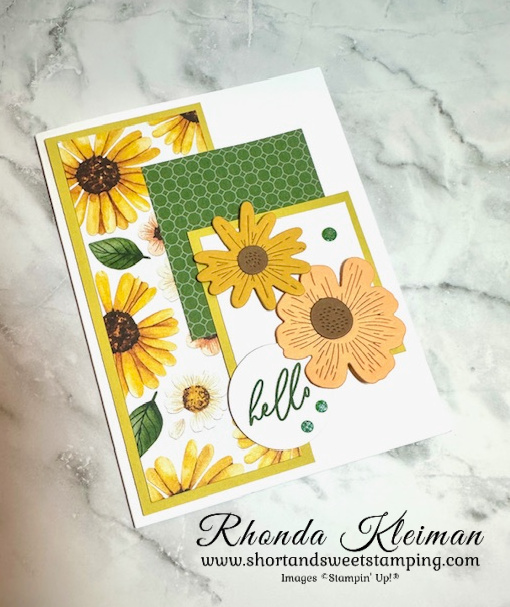
Once again, it’s been awhile since I last posted. I’ve been very busy making cards since late July and am sitting on a backlog for posting them. In addition to my monthly in-person classes, I did two pro bono in-person workshops so was busy designing cards and preparing kits for weeks. One of the pro bono workshops I did was at St. Peter’s Apartments in Columbia, PA. I’ve done workshops there in the past, but it was over two years ago since I did the last one. I was happy to be back to help spread some joy to the residents there! I had twelve people in the session, all with varying stamping experience! I was grateful to have one of my experienced customers come along to help me! Since the skill levels were all over the place, I tried to keep the cards somewhat basic, which is always a challenge. Here is the card we made using the Floral Impressions Suite, an online exclusive that was introduced in July.
Measurements
Thick Basic White cardstock – 5 1/2″ x 8 1/2″
Basic White cardstock – 2 1/8″ x 2 1/8″; scrap piece for greeting
Darling Duckling cardstock – 2 1/4″ x 5 1/4″; 2 3/8″ x 2 3/8″
Peach Pie cardstock – scrap piece
Crushed Curry cardstock – scrap piece
Pecan Pie cardstock – scrap piece
Floral Impressions Designer Series Paper – 2″ x 5″; 2 3/8″ x 2 1/2″
Here is how I made the card.
Fold Thick White Cardstock base in half and crease sharply with bone folder
Adhere the larger piece of DSP to the larger piece of Darling Duckling cardstock. Adhere to left side of card front.
Adhere the smaller piece of contrasting DSP to card dhere
Adhere Basic White square to Darling Duckling square and adhere to front of card.
Run the scrap pieces of Peach Pie and Crushed Curry cardstock through die cutting machine using the largest and medium size flowers from the Impressions Abloom die set. There are two coordinating dies for each of the flowers. One cuts an outline only and the other cuts a solid piece. You want to nest both dies together in order to cut the solid flowers.
Run scrap piece of Pecan Pie cardstock through die cutting machine with both sizes of the flower centers. Adhere them to the flowers.
Adhere the flowers to the Basic White square with Stampin’ Dimensionals
Stamp greeting in Garden Green ink on scrap piece of Basic White cardstock. I used the hello greeting from the Beautiful Butterflies stamp set. Punch out with a circle punch. Adhere under the large flower.
Embellish card. I used Earth Tones embellishments, which are now retired. The colors went beautifully with the DSP!
Stamp greeting of your choice on the inside of the card.
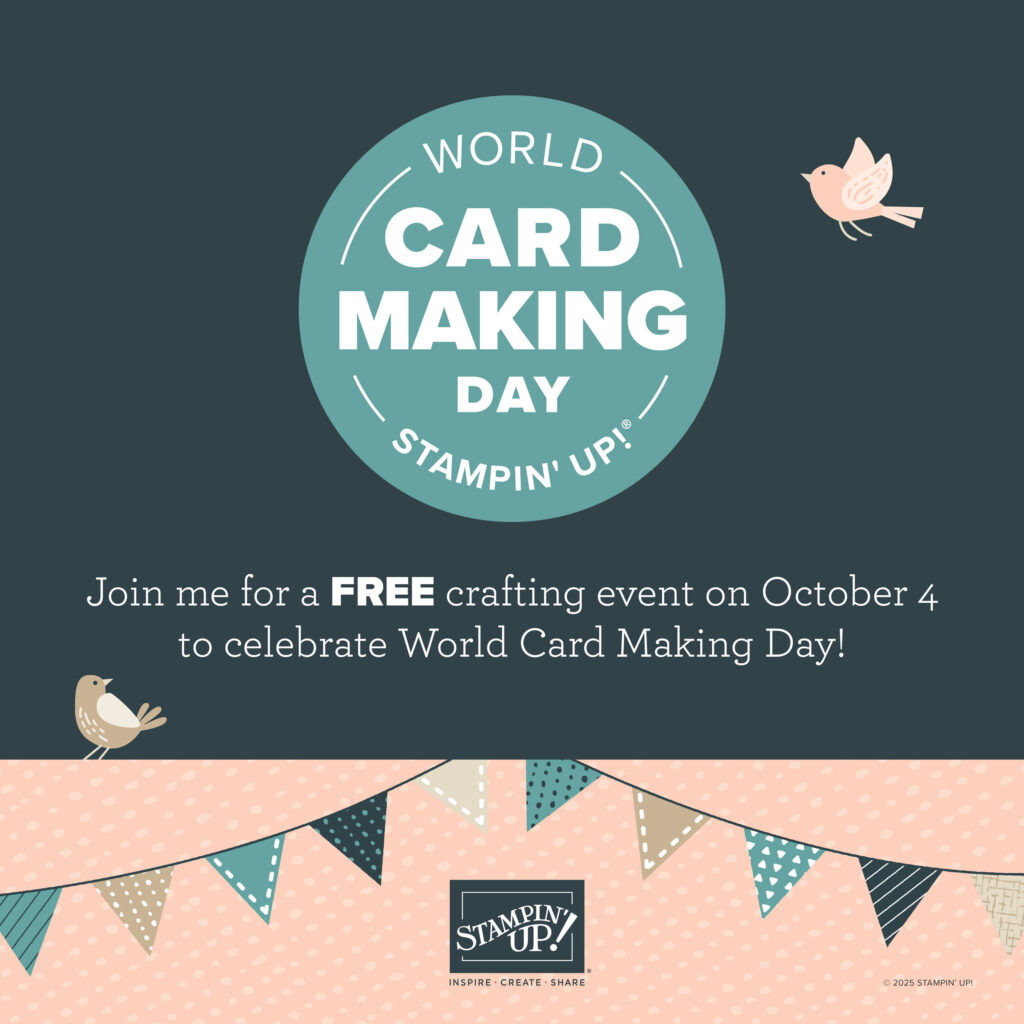
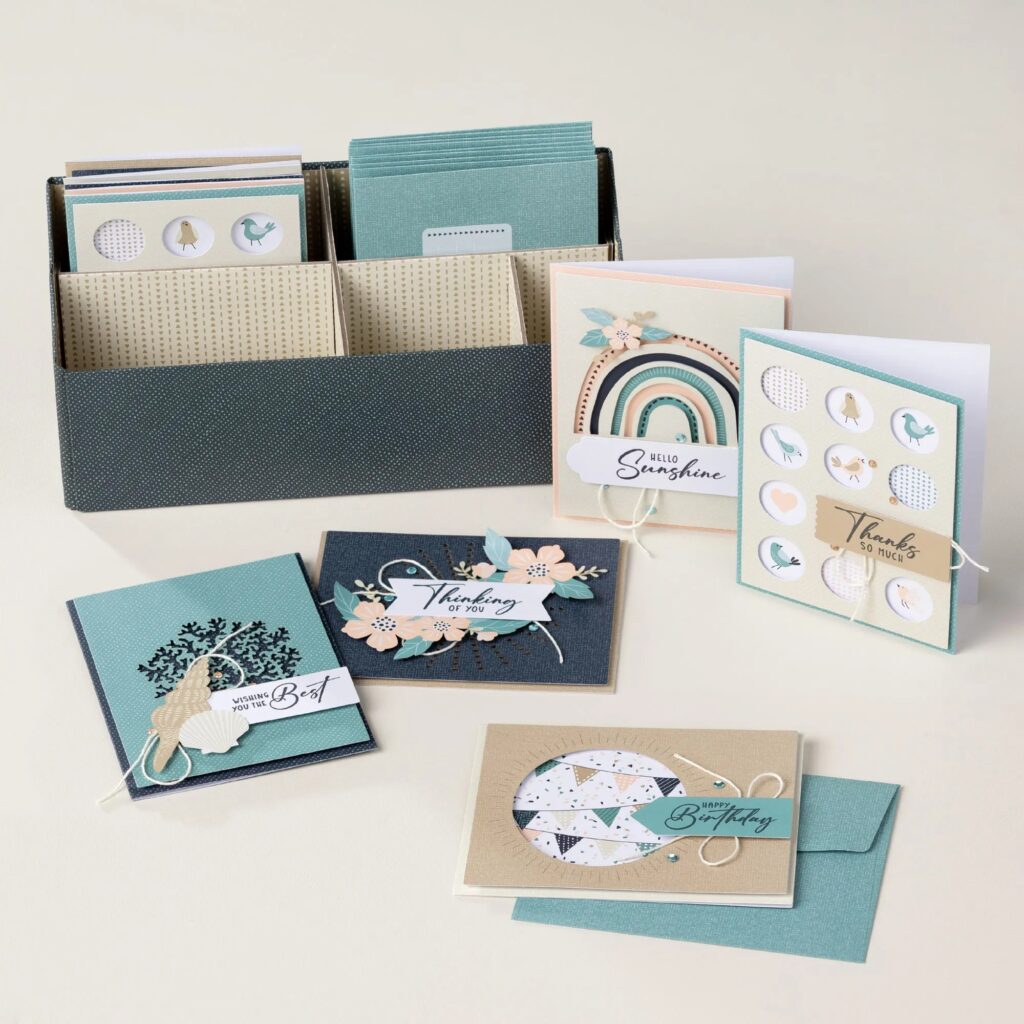
If you’d like to craft along during the event, the projects will be made using the new Handmade & Heartfelt Kit. Item number is 166213 and price is $32.00
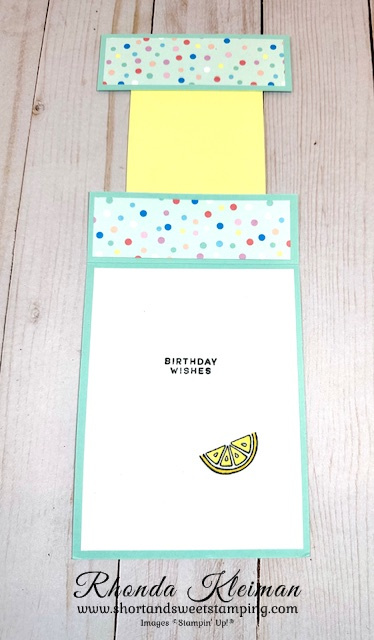
Today’s card is one of two cards we made in one of my recent classes and it features the Simply Sparkling Bundle. This fun stamp set and dies were introduced as Online Exclusives in November. There are so many ways to get creative with the stamps and I think it works well for both feminine and masculine cards. You can use it either as a soda can or a beer can.
Here is how I made the card.
Card base – cut a piece of Pool Party cardstock at 4 1/4″ x 11″ and score at 5 1/2″. Cut 4″ off one side and fold at the score line. With the remaining 4″ piece, cut one piece at 1 1/2″. This will be used for the bottom of the card.
Cut four strips of the polka dot pattern paper from the Lighter Than Air DSP at 1 1/4″ x 4″. I was looking through my DSP for something that would look like bubbles and thought this looked great. Adhere to the card fronts and inside pieces.
Cut a piece of Lemon Lolly cardstock at 2 7/8″ x 4 1/4″. Cut a piece of Basic White cardstock at 2 5/8″ x 4″. Run through embossing folder with the circle folder from the Cheery Patterns Embossing Folder. This set of folders was in the September-December 2023 Mini Catalog and was still current when I made the card, however, it is now retired. You can substitute it with the dot folder in the Basics 3D Embossing Folder set which is still available as an Online Exclusive. Adhere to Lemon Lolly piece.
Run the can die through your die cutting machine with a piece of the Lemon Lolly and white flower pattern paper from the Bright and Beautiful DSP cut at 2 1/2″ x 3″. Cut a 2″ square piece of the holographic paper from the Holographic Trio Specialty Paper in the annual catalog. Run through die cutting machine with the top and bottom can dies. Adhere to the can piece.
Stamp greeting on can with Memento Black Ink. Adhere can to Lemon Lolly piece.
Stamp the lemon image with Memento Black ink onto a scrap piece of Basic White cardstock. Color with Dark Lemon Lolly, Dark Daffodil Delight and Light and Dark Lemon Lime Twist Stampin’ Blends. Run through die cutting machine with the lemon die.
Stamp straw with Flirty Flamingo ink on scrap piece of Basic White cardstock and run through die cutting machine with the straw die. Adhere the lemon and straw to the can. Add a bit of bling. I used the Adhesive-Backed Glitter Sequins, also recently retired, but any sparkly gems would work just fine!
Cut a piece of Basic White cardstock at 4″ x 5 1/4″. Stamp birthday greeting and lemon image with Memento Black ink. Make sure that both the greeting (no matter what greeting you use) and lemon images are stamped so that they don’t stick out when the front flap is closed. Color the lemon with the Lemon Lolly and Daffodil Delight Stampin’ Blends. Adhere to inside of card.
Thanks for stopping by today!
Kits Collection
Two new kits have been added to the Kits Collection and are available for purchase in my online store.
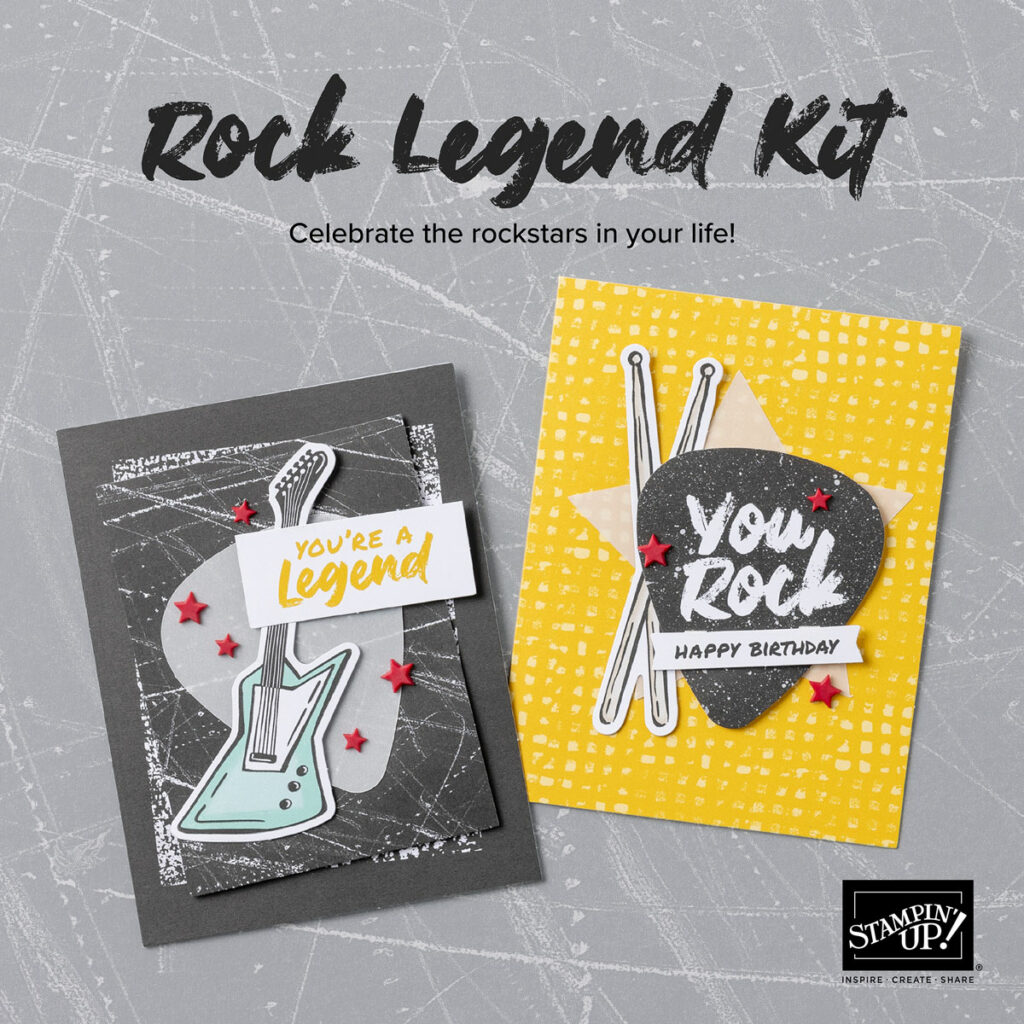
Rock Legend $14.00 Item #163272
Kit contains supplies to make 8 cards, 4 each of two different designs. Finished card size is 4 1/4″ x 5 1/2″. Coordinating colors are: Basic Black, Coastal Cabana, Crumb Cake, Crushed Curry, Real Red.
Panda Friends $14.00 Item #163273
Kit contains supplies to make 8 cards, 4 each of two different designs. There are two finished card sizes, 4 1/4″ x 5 1/2″ and 8 1/2″ x 3 1/2″. Coordinating colors are: Basic Black, Flirty Flamingo, Lemon Lime Twist, Pool Party, Poppy Parade. So cute! we had a panda bear stamp set as part of Sale-A-Bration a few years ago and it was way popular, so it is nice to see this kit!
Paper Pumpkin
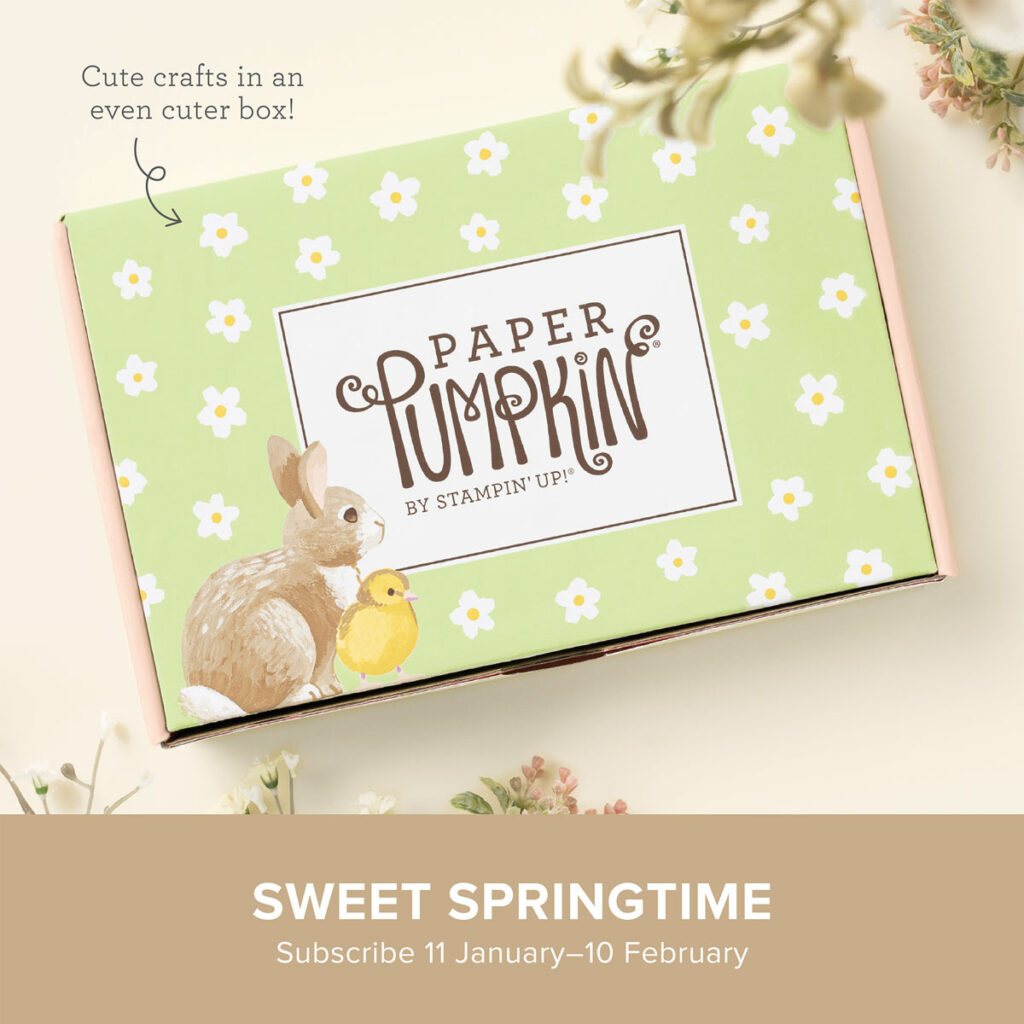
Sweet Springtime is the February Paper Pumpkin Kit. The kit includes 9 projects, 3 each of 3 different designs. It includes printed cards, coordinating envelopes, gift boxes, precut paper pieces, bakers twine embellishments and an Early Espresso ink spot. The coordinating colors are: Petal Pink, Daffodil Delight, Granny Apple Green, Berry Burst, Crumb Cake. You can also purchase a coordinating die set, Love of Spring, $12.00, Item #164396 in the online store. You can purchase a subscription to Paper Pumpkin in my online store.
Place an online order between $50 and $149 and use this host code for January. You will receive a free gift from me the following month. If your order is $150 or more DO NOT use the host code. You will qualify for Stampin’ Rewards.
I’m back again after another long break. Wishing my Jewish friends and customers a very belated Happy Chanukah! I’ve been busy making cards for the last two months but haven’t had time to do any blogging. I recently finished a major renovation project in my living room and dining room which affected my annual holiday card workshops due to the chaos going on around me. I usually begin my workshops in early November but had to push them back a few weeks. My last workshop was yesterday and now I can finally start getting back into more normal routines. I will be blogging my holiday cards for the next two weeks.
Here are photos of my living room and dining room. My home is over 100 years old and the downstairs floors, steps going upstairs and upstairs hallway were covered with old white carpet that was here when I bought the home 18 years ago. I had the carpet removed and wood floors were refinished to their original state. Paint job, all new furniture in both rooms and new light fixtures. I can’t believe it is my house! I’m looking forward to the fun part, shopping around for accessories, after the new year!
I held one Chanukah card workshop using the beautiful new and very long-awaited Stampin’ Up! stamp set, Celebrate the Miracle, and even managed to get my cards mailed out on time. I did three different cards. No instructions for how I made the card, however I have listed the cutting measurements for each. Supplies used are at the end of this post.
Cutting measurements
Night of Navy cardstock – cut one piece at 5 1/2″ x 6 1/2″ and score at 2 1/4″; cut one piece at 4 1/4″ x 6″ and score at 3″.
Very Vanilla cardstock- cut one piece at 3″ x 4″ and one piece at 2 3/4″ x 4 1/4″
Shining Brightly DSP- cut two pieces at 2″ x 5 1/4″
Cutting measurements
Night of Navy cardstock – cut one piece at 5 1/2″ x 8 1/2″ and score at 4 1/4″; cut one piece at 3 3/4″ x 4 1/4″; cut one piece at 2 5/8″ x 3 3/8″
Very Vanilla cardstock – cut one piece at 4″ x 5 1/4″; cut one piece at 2 1/2″ x 3 1/4″
Shining Brightly DSP – Cut one piece at 4″ x 5 1/4″; cut one piece at 3 1/2″ x 4″
Cutting Measurements
Cut one piece of Pebbled Path cardstock at 4 1/4″ x 11″and score at 4 1/4″ and 5 1/2″
Cut one piece of Basic White cardstock at 4″ x 4″ and 4 pieces at 1 1/2″ x 1 1/2″
Cut four pieces of Boho Blue cardstock at 1 5/8″
Cut one piece of Pebbled Path Tartan Foil Specialty DSP at 4″ x 4″ and one piece at 1″ x 4″
Place an online order between $50 and $149 and use this host code for December. You will receive a free gift from me the following month. If your order is $150 or more DO NOT use the host code. You will qualify for Stampin’ Rewards.
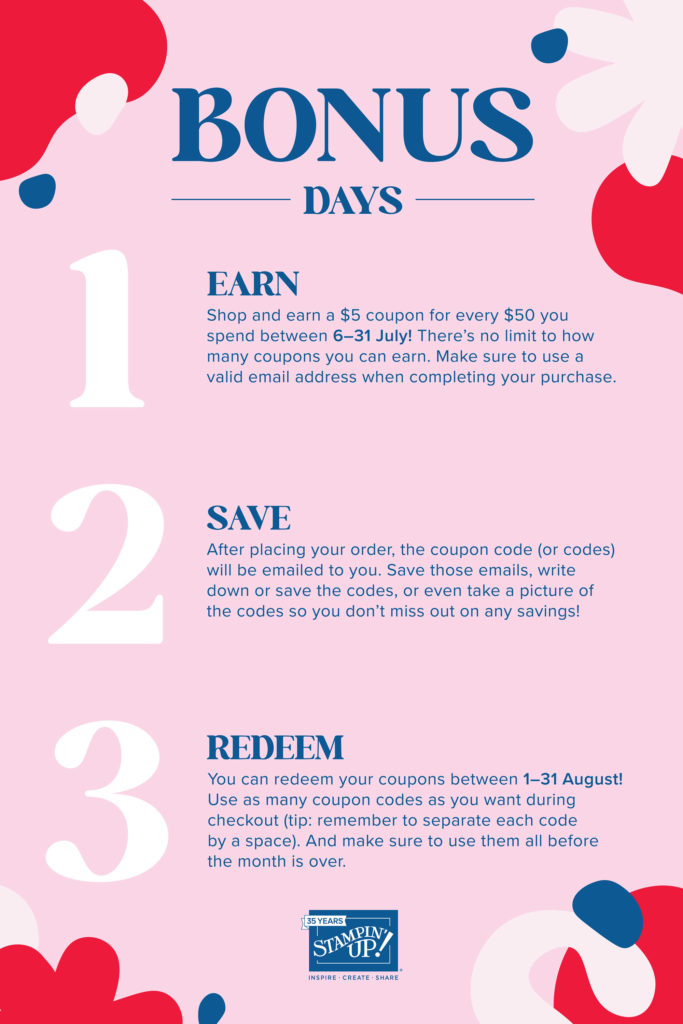
Bonus Days are back! Starting tomorrow, July 6 and running through July 31, earn a $5 coupon for every $50 you spend. There is no limit on how many coupons you can earn. You will be able to redeem your coupons in August. The instructions above explain how to redeem them. Make sure that your email address is correct because coupon codes will be sent to you via email.
A brand new collection of Online Exclusive products will be available starting on July 6. These products are only available online – they do not appear in any of our print catalogs. And there’s no end date for the sales period! Some products will be reordered when inventory is low, and others will only be available while supplies last. This way we can offer even more new products throughout the year. Click here to visit my online store beginning on July 6 to view the new products and to place your orders. Please note that past Online Exclusives and kits that are still available for sale are included.
Current Paper Pumpkin subscribers can take advantage of a 48 hour sale of up to 50% off on past kits, kit refills and kit add-ons from July 6-7 only. These sales don’t happen often, so if there are kits that you previously passed up on or loved kits you purchased so much that you would like to make more projects with them, now is your chance! A few past Paper Pumpkin kits also had add-ons, such as mini die sets, which are included in the sale. Visit my Paper Pumpkin site to learn more. Click here. There is still time to order the current kit, Fun in the Sun, until July 10th.
A Clearance Rack refresh begins tomorrow, July 6th, and as always, items are available while supplies last. Click here to check out all of the discounted products.
Place an online order between $50 and $149 and use this host code for July. You will receive a free gift from me the following month. If your order is $150 or more DO NOT use the host code. You will qualify for Stampin’ Rewards.


![Basic White 8 1/2" X 11" Thick Cardstock [ 159229 ]](https://assets1.tamsnetwork.com/images/EC042017NF/159229s.jpg "Basic White 8 1/2\" X 11\" Thick Cardstock [ 159229 ]")
![Basic White 8 1/2" X 11" Cardstock [ 166780 ]](https://assets1.tamsnetwork.com/images/EC042017NF/166780s.jpg "Basic White 8 1/2\" X 11\" Cardstock [ 166780 ]")
![Darling Duckling 8 1/2" X 11" Cardstock [ 165622 ]](https://assets1.tamsnetwork.com/images/EC042017NF/165622s.jpg "Darling Duckling 8 1/2\" X 11\" Cardstock [ 165622 ]")
![Crushed Curry 8-1/2" X 11" Cardstock [ 131199 ]](https://assets1.tamsnetwork.com/images/EC042017NF/131199s.jpg "Crushed Curry 8-1/2\" X 11\" Cardstock [ 131199 ]")
![Peach Pie 8 1/2" X 11" Cardstock [ 163799 ]](https://assets1.tamsnetwork.com/images/EC042017NF/163799s.jpg "Peach Pie 8 1/2\" X 11\" Cardstock [ 163799 ]")
![Pecan Pie 8 1/2" X 11" Cardstock [ 161717 ]](https://assets1.tamsnetwork.com/images/EC042017NF/161717s.jpg "Pecan Pie 8 1/2\" X 11\" Cardstock [ 161717 ]")
![Beautiful Butterflies Photopolymer Stamp Set (English) [ 164608 ]](https://assets1.tamsnetwork.com/images/EC042017NF/164608s.jpg "Beautiful Butterflies Photopolymer Stamp Set (English) [ 164608 ]")
![Floral Impressions 12" X 12" (30.5 X 30.5 Cm) Designer Series Paper [ 165603 ]](https://assets1.tamsnetwork.com/images/EC042017NF/165603s.jpg "Floral Impressions 12\" X 12\" (30.5 X 30.5 Cm) Designer Series Paper [ 165603 ]")
![Impressions Abloom Dies [ 165610 ]](https://assets1.tamsnetwork.com/images/EC042017NF/165610s.jpg "Impressions Abloom Dies [ 165610 ]")
![Garden Green Classic Stampin' Pad [ 147089 ]](https://assets1.tamsnetwork.com/images/EC042017NF/147089s.jpg "Garden Green Classic Stampin' Pad [ 147089 ]")
![Paper Trimmer [ 152392 ]](https://assets1.tamsnetwork.com/images/EC042017NF/152392s.jpg "Paper Trimmer [ 152392 ]")
![Bone Folder [ 102300 ]](https://assets1.tamsnetwork.com/images/EC042017NF/102300s.jpg "Bone Folder [ 102300 ]")
![Stampin' Seal [ 152813 ]](https://assets1.tamsnetwork.com/images/EC042017NF/152813s.jpg "Stampin' Seal [ 152813 ]")
![Stampin' Dimensionals [ 104430 ]](https://assets1.tamsnetwork.com/images/EC042017NF/104430s.jpg "Stampin' Dimensionals [ 104430 ]")
![Multipurpose Liquid Glue [ 110755 ]](https://assets1.tamsnetwork.com/images/EC042017NF/110755s.jpg "Multipurpose Liquid Glue [ 110755 ]")


")
")

 Designer Series Paper")
 Designer Series Paper")
 Specialty Paper")


")


 Specialty Designer Series Paper")
 Specialty Designer Series Paper")


 Glittered Ribbon")
 Textured Ribbon")


")