
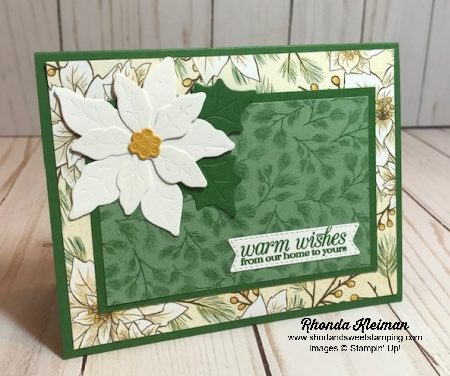
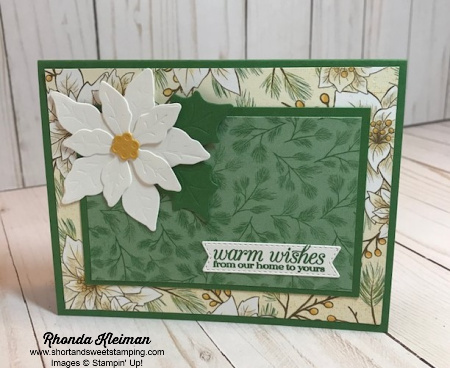
Hello! Today’s card features products from the Poinsettia Place Suite in the August-December 2020 Mini Catalog. This is one of the cards I will be including in my upcoming virtual holiday workshops. The products in this suite are so pretty! I also like that the Designer Series Paper uses the Christmas colors we all love, but the designs are not the typical stripes, plaids, checks, trees, etc. that you find in so many papers. The stamps and dies, along with beautiful sentiments and type fonts make for great versatility. Here is how I made the card.
- Card base – cut piece of Garden Green cardstock at 5 1/2″ x 8 1/2″, score at 4 1/4″ and crease with a bone folder.
- Cut a piece from one of the papers with white poinsettia images at 4″ x 5 1/4″ and adhere to card base.
- Cut another piece of Garden Green cardstock at 3″ x 4 1/2″. Cut piece of the Garden Green DSP with the tone-on-tone pine branches at 2 3/4″ x 4 1/4″ and adhere to cardstock. Adhere to center of card front.
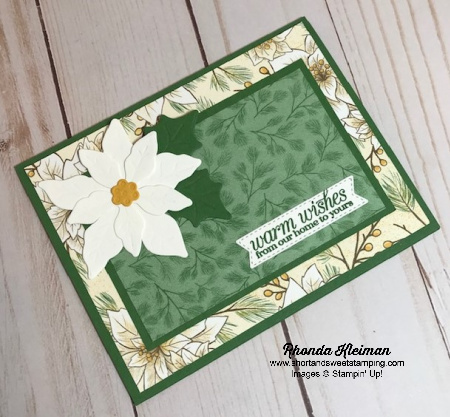
- Die cut one small and one medium poinsettia from scrap piece of Whisper White cardstock. There are two dies for each size of poinsettia, one is open and the other fits inside and has lines for embossing the veins of the flowers. Use both pieces. Adhere the two cut pieces with a Mini Glue Dot. The leaf shapes also have two pieces for each size. Die cut two leaves from scrap piece of Garden Green cardstock and use both dies so that the leaves are embossed. Adhere the leaves to the poinsettia flower with glue dots. Die cut the flower center from a small scrap of Bumblebee cardstock. Adhere with a glue dot. Adhere entire flower to upper corner of the card with liquid glue for better positioning.
- Stamp greeting with Garden Green ink on scrap piece of Whisper White cardstock. Cut with the banner die from the Tasteful Labels Dies. Adhere to card.
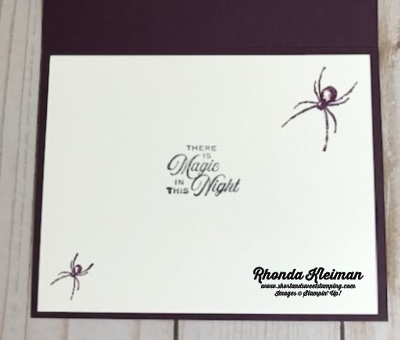
- For the inside of the card, cut piece of Whisper White cardstock at 4″ x 5 1/4 and stamp greeting with Garden Green ink. I used the Merry Christmas greeting. Stamp one of the leaf images in the bottom left corner. Adhere to card.
This was a quick and easy card to put together.
Thanks for stopping by today!


Product List
") | |
 |  |
 | |
 | |
 |  |
 |  |
 |
")


")


 Ribbon")


")


 Glittered Organdy Ribbon")

")
")
")


