Hello!
I’m back again after another long break. Wishing my Jewish friends and customers a very belated Happy Chanukah! I’ve been busy making cards for the last two months but haven’t had time to do any blogging. I recently finished a major renovation project in my living room and dining room which affected my annual holiday card workshops due to the chaos going on around me. I usually begin my workshops in early November but had to push them back a few weeks. My last workshop was yesterday and now I can finally start getting back into more normal routines. I will be blogging my holiday cards for the next two weeks.
Here are photos of my living room and dining room. My home is over 100 years old and the downstairs floors, steps going upstairs and upstairs hallway were covered with old white carpet that was here when I bought the home 18 years ago. I had the carpet removed and wood floors were refinished to their original state. Paint job, all new furniture in both rooms and new light fixtures. I can’t believe it is my house! I’m looking forward to the fun part, shopping around for accessories, after the new year!


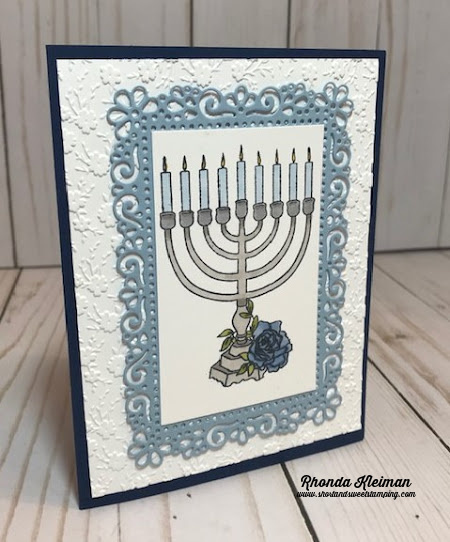
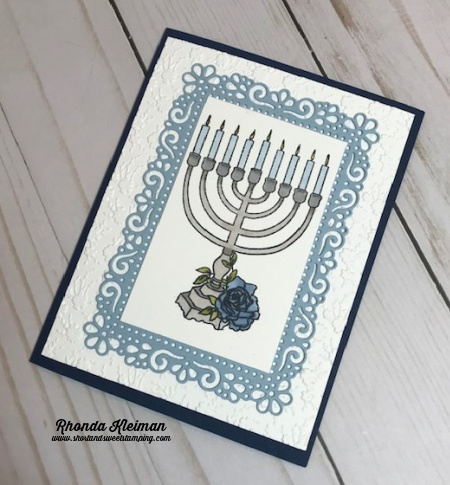
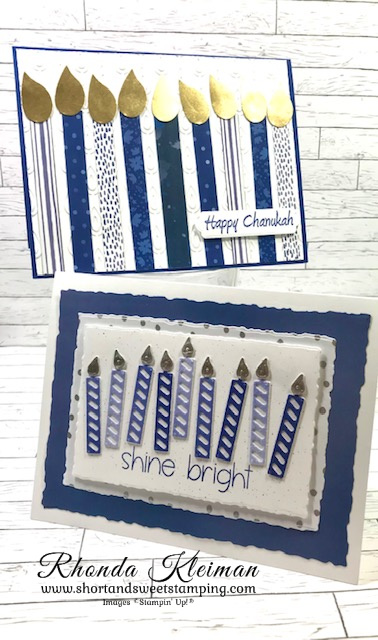
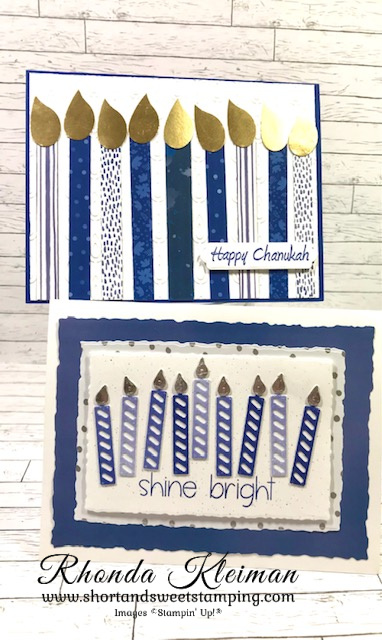
I held one Chanukah card workshop using the beautiful new and very long-awaited Stampin’ Up! stamp set, Celebrate the Miracle, and even managed to get my cards mailed out on time. I did three different cards. No instructions for how I made the card, however I have listed the cutting measurements for each. Supplies used are at the end of this post.


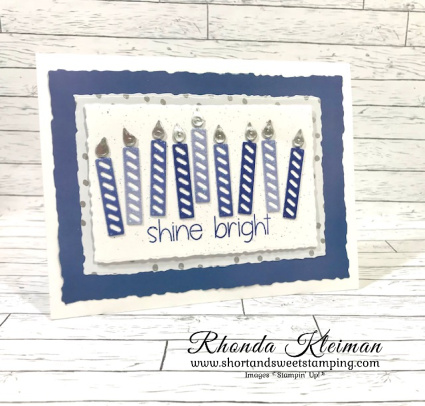
Cutting measurements
- Night of Navy cardstock – cut one piece at 5 1/2″ x 6 1/2″ and score at 2 1/4″; cut one piece at 4 1/4″ x 6″ and score at 3″.
- Very Vanilla cardstock- cut one piece at 3″ x 4″ and one piece at 2 3/4″ x 4 1/4″
- Shining Brightly DSP- cut two pieces at 2″ x 5 1/4″


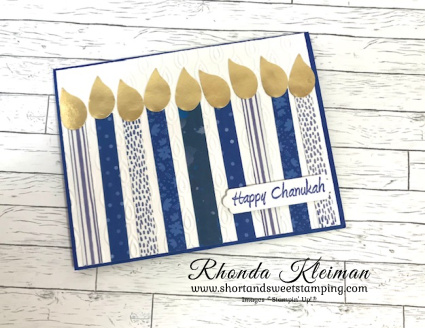
Cutting measurements
- Night of Navy cardstock – cut one piece at 5 1/2″ x 8 1/2″ and score at 4 1/4″; cut one piece at 3 3/4″ x 4 1/4″; cut one piece at 2 5/8″ x 3 3/8″
- Very Vanilla cardstock – cut one piece at 4″ x 5 1/4″; cut one piece at 2 1/2″ x 3 1/4″
- Shining Brightly DSP – Cut one piece at 4″ x 5 1/4″; cut one piece at 3 1/2″ x 4″


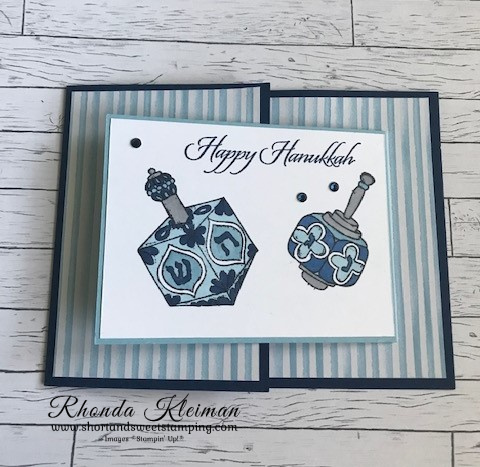
Cutting Measurements
- Cut one piece of Pebbled Path cardstock at 4 1/4″ x 11″and score at 4 1/4″ and 5 1/2″
- Cut one piece of Basic White cardstock at 4″ x 4″ and 4 pieces at 1 1/2″ x 1 1/2″
- Cut four pieces of Boho Blue cardstock at 1 5/8″
- Cut one piece of Pebbled Path Tartan Foil Specialty DSP at 4″ x 4″ and one piece at 1″ x 4″
Thanks for stopping by today!


Click here to view the Last Chance list
Click here to view the Carryover list

Place an online order between $50 and $149 and use this host code for December. You will receive a free gift from me the following month. If your order is $150 or more DO NOT use the host code. You will qualify for Stampin’ Rewards.
Product List  |  | |
 | ||
 | ||
 | ||
 |  |  |
 |  |  |
 |  |  |
") |
")


 Specialty Designer Series Paper")
 Specialty Designer Series Paper")


 Glittered Ribbon")
 Textured Ribbon")

")


 Cardstock")

 Designer Series Paper")
 Designer Series Paper")
 Glimmer Paper")
 Specialty Pack")


")


 Designer Series Paper")
 Specialty Designer Series Paper")