

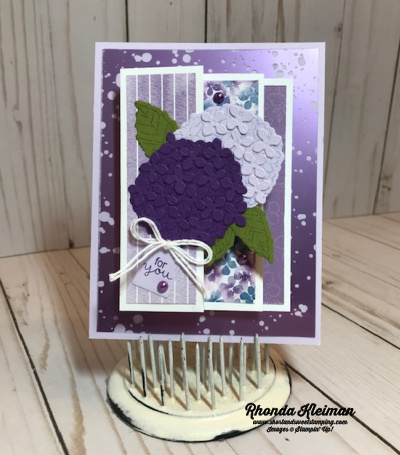
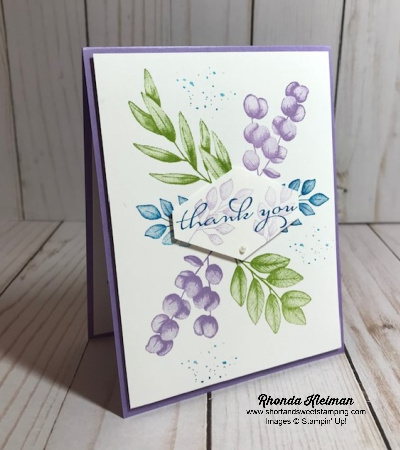
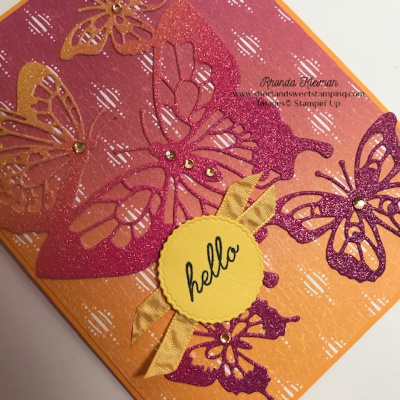
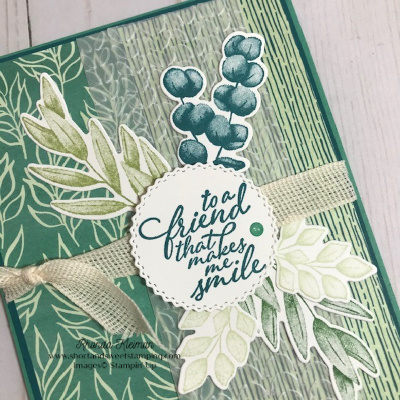
Today I’m participating in Kylie Bertucci’s International Blog Highlights. Readers get to vote on their top five favorites in the gallery and the top 10 winners will get to participate in an International Blog Hop later this month. The theme is “thank you” and is a way for us to show our appreciation to someone that has inspired, helped or supported us in some way. Today’s card is a fun fold that features the beautiful Hydrangea Hill Suite.
Here is how I made the card.
- Card base – cut a piece of Purple Posy cardstock at 4 1/4″ x 5 1/2″.
- Cut piece of Highland Heather Mercury Glass Designer Acetate at 4″x 5 1/4″ and adhere with Stampin’ Seal+ to card base.
- Cut piece of Basic White cardstock at 4 1/4″ x 11″, score at 1 1/2″, 3″, 5 1/2″, 8″, fold and crease sharply with a bone folder.
- Cut three coordinating pieces of Hydrangea Hill Designer Series Paper at 1 1/4″ x 4″, 2 1/4″ x 4″, 2 3/4″ x 4″and adhere to folds.
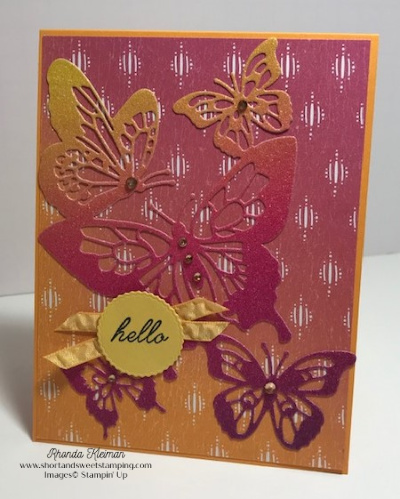
- Stamp two of the flower tops of the hydrangea. Stamp one with Gorgeous Grape ink on a piece of Gorgeous Grape cardstock and the other with Seaside Spray ink on a piece of Purple Posy cardstock. Stamp the leaf part of the flower with Old Olive ink on piece of Old Olive cardstock. Die cut with the coordinating Hydrangea dies. Trim away the stems. Die cut one set of flower petals with Purple Posy cardstock and two sets with Gorgeous Grape cardstock.
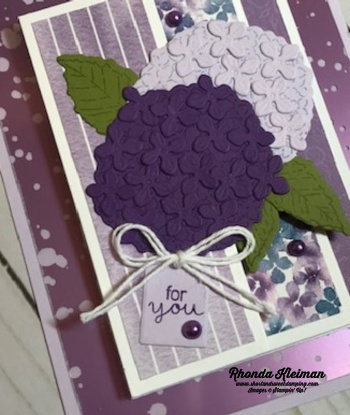
- Adhere the flower petals on the two flowers. Arrange them around the flowers before adhering and then do one at a time with a tiny dot of liquid glue in the center of each petal so that you have some wiggle room to move them around to adjust how they fit. I found it very helpful to use a tweezer to hold the petals while applying the glue and then flipping to the other side to adhere.
- Adhere the two flowers together and then adhere the leaves.
- Stamp “For You” greeting for front of card with Gorgeous Grape ink on scrap piece of Purple Posy cardstock and cut with the tag die.
- Cut two lengths of white bakers twine and tie in a bow.
- Adhere the flower to the card front, making sure to only glue the left half of the piece onto the front flap so that the card can open. Adhere the tag under the bottom of the Gorgeous Grape flower. Adhere the bow with a mini glue dot.
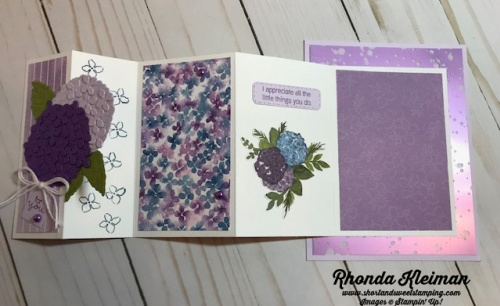
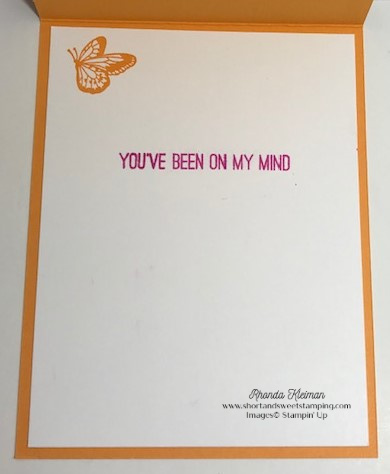
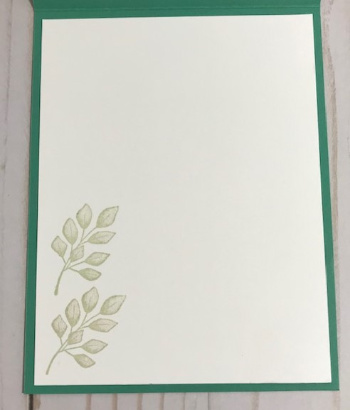
- For the inside of the fun folds, on the first panel, stamp the small open petal randomly with Misty Moonlight ink.
- Stamp greeting for inside of card with Gorgeous Grape ink on scrap piece of Purple Posy cardstock. Cut with the label die from the Hydrangea Dies set. Adhere to top of the larger panel.
- Fussy cut one of the floral clusters from the DSP and adhere under the greeting.
- To finish off the card, add one of the Gorgeous Grape Pastel Pearls to the tag and two more around the card front.
I’d be so appreciative if you would vote for my card! Click on the vote image below. Once you are in the gallery, click on the heart at the top right hand side of the picture as the hearts appear.

Thanks so much for stopping by today!


 |  | |
 | ||
 | ||
 |  | |
 |  |  |
 |  |  |
 |


")


 Ruched Ribbon")


")


