Hello! Happy Chanukah to my Jewish customers, friends and family! I’m playing catch-up with my blog posts so I’m posting this later then I had planned, but there are still a few days left before the holiday ends on Thursday evening!
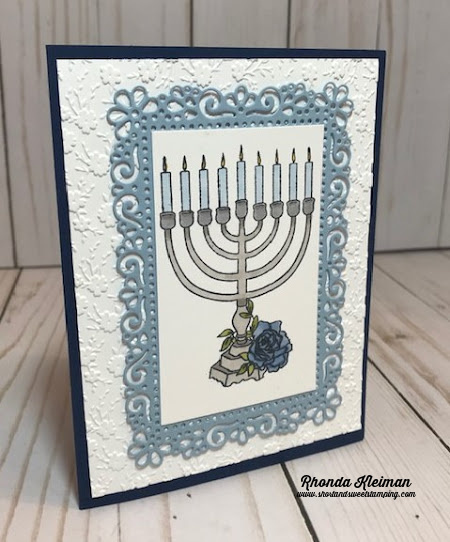
This is one of the rare times that I am posting a project that doesn’t use a stamp set from Stampin’ Up! We haven’t had a new Chanukah stamp set in many years and I’ve used all of my old sets so many times that I needed a “pick me up!” so purchased this set, Love and Light, from Altenew. It comes with a coordinating die, but I didn’t use it for this card. Everything else on this card is from Stampin’ Up!
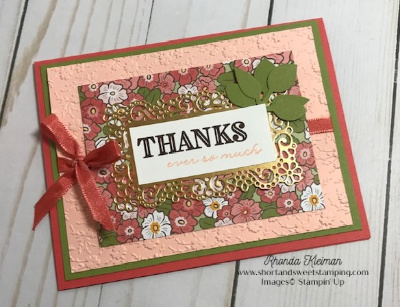
Here is how I made the card.
- Card base – cut a piece of Night of Navy cardstock at 5 1/2″ x 8 1/2″, score at 4 1/4″, fold and crease with a bone folder.
- Cut a piece of Whisper White cardstock at 4″ x 5 1/4″. Run through your embossing & die cutting machine with the Ornate Floral 3D embossing folder. Adhere to card base.
- Cut piece of Seaside Spray cardstock at 3 1/2″ x 5″. Use the second largest of the wider dies in the Ornate Layers die set and run through your embossing & die cutting machine.
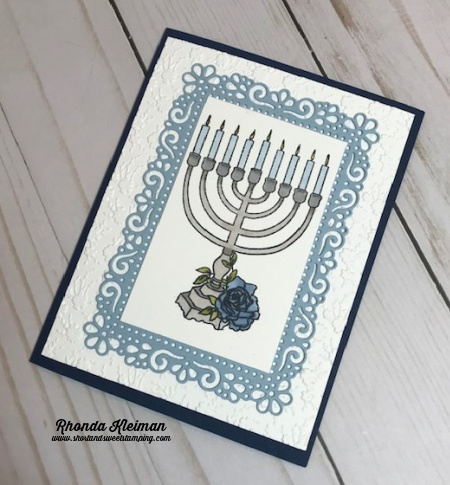
- Cut piece of Whisper White cardstock at 2 3/4″ x 3 5/8″. Stamp image with Memento Black Ink. Color image with Stampin’ Blends. I used dark and light Gray Granite and light Smoky Slate for the menorah, light Seaside Spray for the candles, dark Daffodil Delight for the flames, light Misty Moonlight and dark Seaside Spray for the rose and dark and light Old Olive for the leaves. Adhere to ornate frame and adhere frame to card front.

Cut piece of Whisper White cardstock at 4″ x 5 1/4″. Stamp greeting with Misty Moonlight ink. Adhere to inside of card.
Give this idea a try by changing up the stamped image!
Thanks for stopping by today!

Product List
 | |
 | |
 | |
 |  |
 |  |


Stampin’ Up!’s Year-End Closeout Sale runs through January 4, 2021. You’ll get deep discounts, some as much as 50% off, on your favorite products from the August–December 2020 Mini Catalog, also known as the Holiday Catalog. If you’ve been waiting to make last-minute purchases from this catalog, now is the time, as availability is only while supplies last. Please note that all of the bundles in the Holiday Catalog will be retired, however some stamp sets with coordinating dies or punches that are currently sold as bundles at 10% off will be carrying over and will be sold as individual items.
Click here to view a list of retiring items.
Click here to view a list of products that will be carrying over.
You can purchase these items through my online store.


")
")