Hello! Welcome to Kylie Bertucci’s Demonstrator Training Blog Hop for August. I’m part of a group of Stampin’ Up! demonstrators from around the world that participate in Kylie’s program for building our businesses. Please be sure to click on the names in the list at the end of this post to hop around and view the beautiful cards posted by so many talented stampers.
Today I’m sharing a sympathy card I made to send to a friend whose mother recently passed away. It uses products from the beautiful Peony Garden Suite. I made the original card with Petal Pink and then decided to make a few extras with Purple Posy, which I’m showing here. I used a variation on one of my favorite layouts.
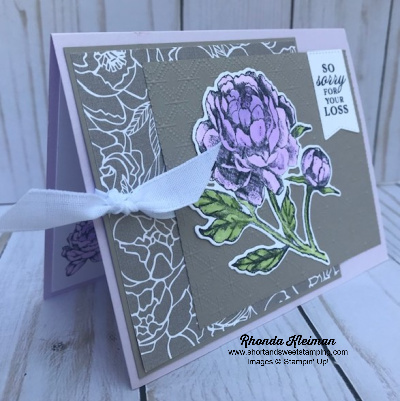
Here is how I made the card.
- Card base – Cut piece of Purple Posy cardstock at 5 1/2″ x 8 1/2″, score and fold in half.
- First layer – cut piece of Gray Granite cardstock at 4″ x 4″. Cut piece of Gray Granite floral paper from the Peony Garden Designer Series Paper at 3 7/8″ x 3 7/8″. Adhere to cardstock piece.
- Cut a length of Whisper White Faux Linen Ribbon from the Flowers for Every Season Ribbon Combo Pack and tie around the layered piece. Adhere to card base.

- For the second layer cut piece of Gray Granite cardstock at 3 1/2″ x 4 1/4″. Run through embossing machine with the Dainty Diamonds 3D Embossing Folder.
- Stamp large peony image with Tuxedo Black Memento Ink on piece of Whisper White cardstock. Color the flower with Purple Posy and Highland Heather Stampin’ Blends. For the flower I wanted a paler, softer look so didn’t go too heavy with the darker of the blends. Color leaves with Granny Apple Green Stampin’ Blends. Cut out with the coordinating Peony Dies.
- Stamp greeting with Basic Gray ink on scrap piece of Whisper White cardstock. Cut out with the stitched banner die from the Tasteful Labels Die set.
- Adhere peony and greeting to embossed piece. Adhere second layer to first layer.
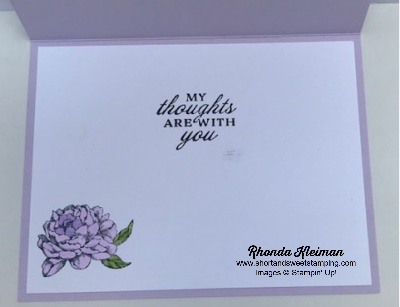
- Cut piece of Whisper White cardstock at 4″ x 5 1/4″. Stamp greeting with Basic Gray ink. Stamp small peony flower in bottom left of card. Color with Stampin’ Blends. Adhere to inside of card.
- Stamp small peony flower in bottom corner of envelope and color with Blends. I slid a piece of paper into the envelope before coloring so that the ink didn’t bleed through to the other side of the envelope.

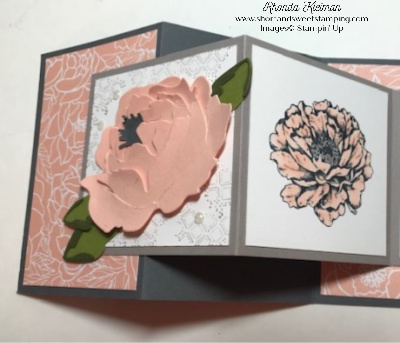
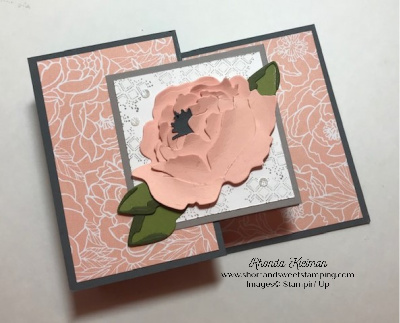
Here are the Petal Pink and Purple Posy cards shown together.

Thanks for stopping by today!

Product List
") | |
 |  |
 | |
 | |
 | |
 |  |
 |
")