
Hello!
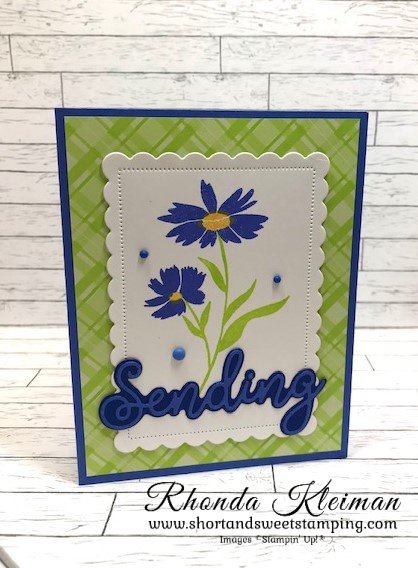
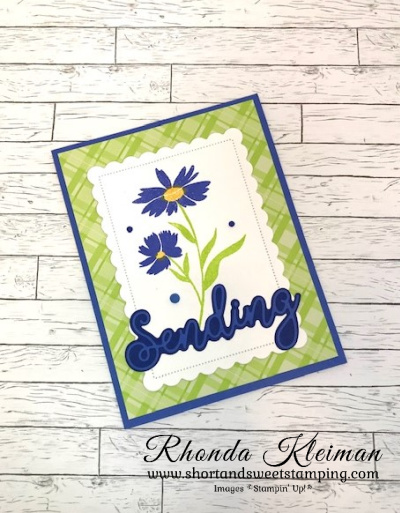
Today’s card is a fun fold that pairs the Perfectly Penciled Designer Series Paper with the Sending Smiles bundle in the new annual catalog. This is another project we made in my recent card club. I love working with black & white Designer Series Papers and never miss an opportunity to purchase them when a new set appears in a catalog. They sure do make the contrasting colors pop!
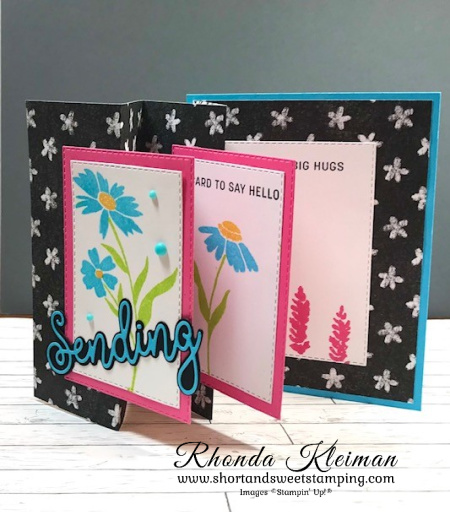
Here is how I made the card.
- Card base: Cut a piece of Tahitian Tide cardstock at 4 1/4″ x 5 1/2″. Cut a piece of paper from the Perfectly Penciled Designer Series Paper at 5 1/4″ x 12 and score at 2″, 4″, 6″ 8″. Fold and crease along score lines. Adhere to card base.
- Cut two pieces of Polished Pink cardstock at 3″ x 4 1/2″ and run through die cutting machine with the fourth largest Stitched Rectangle die.
- Cut two pieces of Basic White cardstock at 2 1/2″ x 3 3/4″ and run through die cutting machine with the fifth largest Stitched Rectangle die.
- Using the Sending Smiles stamp set, on the first piece of cardstock stamp the large leaf image with Parakeet Party ink. Stamp one large flower and one smaller flower with Tahitian Tide ink. Stamp the centers of the flowers with Daffodil Delight ink. On the second piece of cardstock stamp the smaller leaf image with Parakeet Party ink and stamp the flower with Tahitian Tide ink. Stamp the large flower center with Daffodil Delight ink. Stamp greeting with Tuxedo Black Memento ink at top of piece. Adhere both pieces to the Polished Pink pieces.
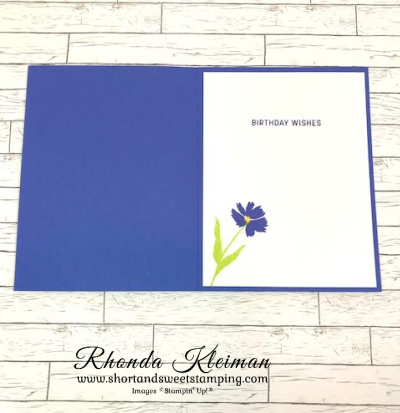
- Cut one piece of Basic White cardstock at 3″ x 4 1/2″. Run piece through die cutting machine with the fourth largest Stitched Rectangle die. Stamp the leafy flower image with Polished Pink ink several times across the bottom of the piece, staggering the heights. Stamp greeting at top of card with Memento ink.
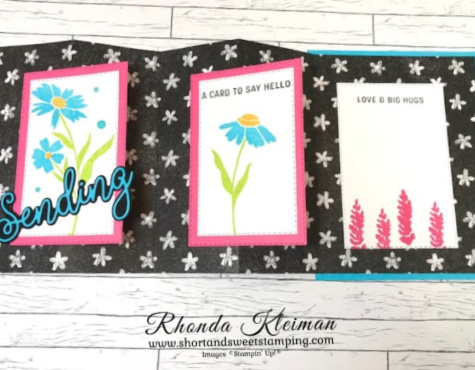
- Adhere first stamped image piece to the front folded flap, centering it and making sure to only put adhesive on the left side of the piece. Adhere second stamped image to the middle fold, again only putting adhesive on left side of the piece. Line up the right side edges so that they are even. Adhere the third Basic White piece to the inside of the card, making sure to line it up with the two other stamped pieces so that it doesn’t stick out when the card is closed.
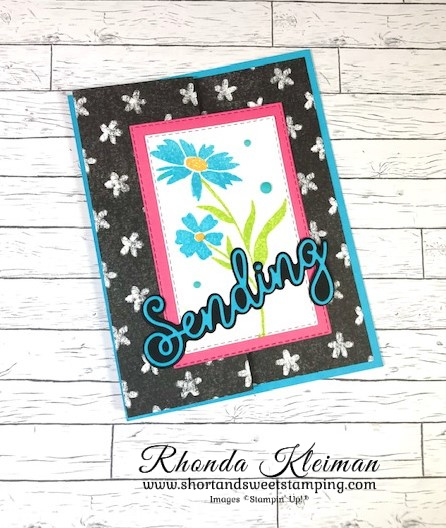
- Cut a piece of Basic Black cardstock at 2″ x 4″ and run through the die cutting machine with the solid word die from the Sending Dies set. Cut a piece of Tahitian Tide cardstock at 2″ x 4″. Cut a piece of an adhesive sheet the same size and adhere to the cardstock. Run through die cutting machine with the script die. Peel off adhesive sheet backing and adhere to Basic Black die cut piece. Adhere on a diagonal to the front card panel with liquid glue.
- Embellish card front with a few Tahitian Tide dots from the 2022-2024 Matte Decorative Dots.
Thanks for stopping by today!


Today is the last day to take advantage of the free bonus offer when you join Stampin’ Up!. Choose $125 worth of products for $99 plus get $66.50 in bonus 2022-2024 In Color Products for free! Here are the free items that will be added to your starter kit.
- 2022-2024 In Color Grid Paper – Item number 160009
- 2022-2024 In Color Ink Pad Collection – Item number 161108
- 2022-2024 In Color Cardstock Collection – 159204
- 2022 In Color 6″ x 6″ Designer Series Paper Assortment – Item number 159253
In addition, you will receive a free Paper Pumpkin Kit and free shipping. You do not have to build a business! Become a happy discount shopper and enjoy a minimum 20% discount on all future orders. Click here to learn more about the benefits of joining Stampin’ Up! For further information about joining my team, click here.

The January–June 2022 Mini Catalog will be retiring soon! With every retiring catalog comes a spectacular sale: the Last Chance Products promotion! With this sale, you can stock up on your favorite products before they’re gone for good. Save up to 50% on essential craft supplies starting on June 1, 2022, with availability while products last.
Click here to view the list of retiring products.

Place an online order between $50 and $149 and use this host code for May. You will receive a free gift from me the following month. If your order is $150 or more DO NOT use the host code. You will qualify for Stampin’ Rewards.
Product List ") | ") | |
 | ||
 | ||
 | ||
 |  |  |
 |  |  |
")
 Designer Series Paper")


 Designer Series Paper")

