

Stampin’ Up! has extended its free shipping offer through today due to worldwide Internet issues that happened yesterday. This is another opportunity to “double dip.” With every $50 you spend now until the end of July you will receive a bonus coupon that can be redeemed in August.

Now through tomorrow, July 25, all active Paper Pumpkin subscribers can save up to 75% off on refills, past kits, and add-ons! Not an active subscriber? You can update your subscription RIGHT NOW and still shop this amazing deal. So, don’t wait! Product is only available while supplies last. Click here to start shopping! As if you didn’t need any further reason to start shopping…any Paper Pumpkin purchase WILL count toward the Bonus Days earning period. Discounts do not apply to monthly or prepaid subscriptions.
Thanks for stopping by today!


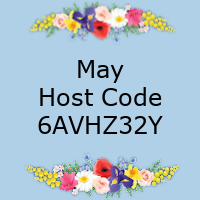
Place an online order between $50 and $149 and use this host code for July. You will receive a free gift from me the following month. If your order is $150 or more DO NOT use the host code. You will qualify for Stampin’ Rewards.


")
")
")


")
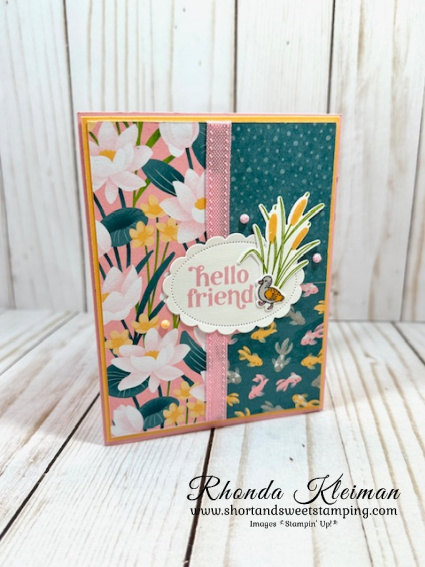
 Designer Series Paper")


")
")
")


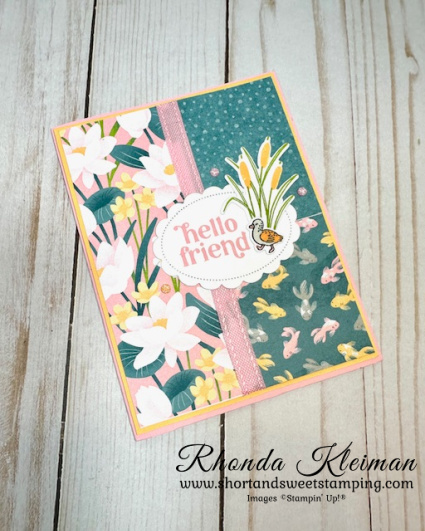
 Designer Series Paper")


 Bordered Ribbon")


