
Hello!
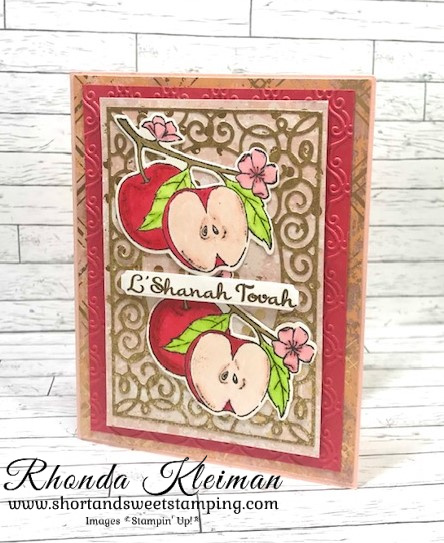
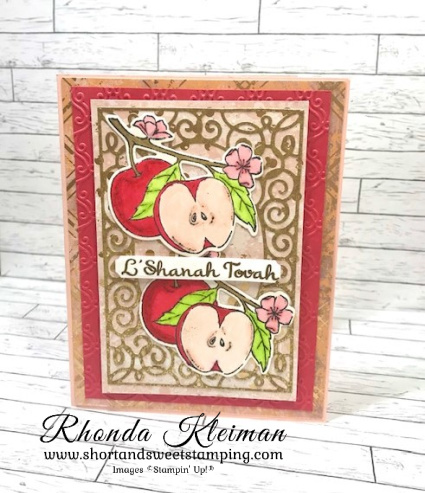
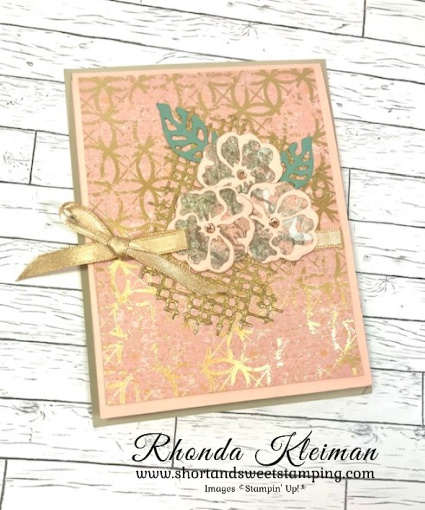
My card today features the Apple Harvest stamp set from the July-December 2022 Mini Catalog and the Apple Blossoms Dies, one of several sets in the Perfect Partners promotion that ends today. The minute I laid eyes on this stamp set in the catalog I knew I had to have it because it would be perfect for making cards for Rosh Hashanah, the Jewish New Year, that I celebrated earlier this week. Stampin’ Up! hasn’t had any stamps specifically for Jewish holidays in many years, so each year I eagerly await the annual and holiday mini catalogs to see if there are any stamp sets that I can adapt. For the last few years there have been sets that include stamps with pomegranates, grapes and doves that are all images used in cards for this holiday. I lucked out again this year with the apples!
Here is how I made the card.
- Card base – Cut a piece of Petal Pink cardstock at 5 1/2″ x 8 1/2″, score at 4 1/4″, fold and crease with a bone folder.
- Cut a piece of one of the Petal Pink sheets in the Texture Chic Specialty Designer Series Paper pack at 4 1/8″ x 5 3/8″ and adhere to card front.
- Cut a piece of Sweet Sorbet cardstock at 3 3/4″ x 5 1/8″ and run through a die cutting & embossing machine with the Stylish Scroll Embossing Folder. Adhere to card front. Please note that this embossing folder is retired. I love how the folder echos the scrolls in the Fancy Frame die, which is why I chose to use it.
- Cut a piece of the Petal Pink and gold dot sheet of DSP at 3 1/8″ x 4 3/4″. Cut a piece of Distressed Gold Specialty Paper at 3 1/2″ x 5″. Cut a piece of adhesive sheet the same size and adhere to the paper. Run through a die cutting and embossing machine with the scroll die from the Fancy Frames Dies. Remove adhesive sheet backing and adhere to the Petal Pink DSP.
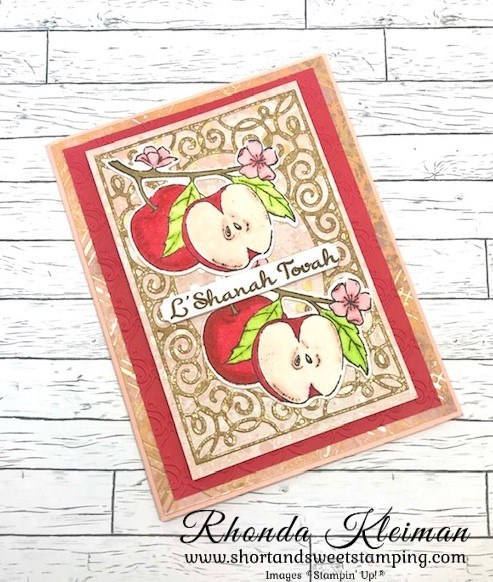
- Cut two pieces of Shimmery White cardstock at 3″ square and stamp apple image from the Apple Harvest stamp set with Memento Ink on both pieces.
- Color the blossoms with Flirty Flamingo Stampin’ Blends. Color the leaves with Parakeet Party Stampin’ Blends. Color the stem with the Light Soft Suede Stampin’ Blend. Color the inside of the apple with Petal Pink Stampin’ Blends. I also colored some of them with So Saffron Stampin’ Blends. Color the outside of the apples using the Light Sweet Sorbet Stampin’ Blend for the base, Dark Stampin’ Blend for the black artist markings and then go over the markings and outer side of the large apple with the Dark Poppy Parade Stampin Blend. Run both pieces through die cutting and embossing machine with the coordinating die from the Apple Blossoms Dies.
- Adhere both apple pieces over the gold frame with liquid glue. Adhere frame piece to card front with Stampin’ Dimensionals.
- Stamp greeting with Soft Suede ink on a scrap piece of Basic White cardstock. I used a Jewish holiday stamp set from Papertrey Ink Stamps that I’ve had for years. L’Shanah Tovah translates to Happy New Year from the Hebrew. I used the smaller label die from the Sending Dies to cut it out. Adhere in the middle of the apples with Mini Stampin’ Dimensionals.
- Cut a piece of Basic White cardstock at 4″ x 5 1/4″. I stamped the criss-cross image from the Apple Harvest stamp set in the upper right and lower left corner with Soft Suede ink. Stamp greeting. Adhere to inside of card.
This card turned out totally different than the original idea I had and was twice as much work! I made twenty cards and spent every spare hour I had all of last week to get them finished. I’ve already received thank you messages from several recipients telling me how much they loved the card so it was worth the extra effort!
Final reminder that today is the last day the Apple Blossoms Dies will be available to order.
Thanks for stopping by today!


Tomorrow, October 1st, is World Card Making Day! Stampin’ Up! will be hosting a virtual event from 2:00pm-5:00pm Mountain Time (4:00pm-7:00pm Eastern Time). Click here to access the link to join the event.
Product List  |  | |
") | ||
 | ||
 | ||
 |  |  |
 |  |  |
 |  |
")


 Specialty Designer Series Paper")
 Specialty Paper")


")
")
")


 Shimmer Ribbon")


