
Today’s card features the Posted for You bundle. When I first saw it in the new catalog I thought that both the stamp set and punch would be versatile. The stamp set has sweet images that can be colored with Stampin’ Write Markers or Stampin’ Blends, watercolored, stamped outlines with different ink colors and no coloring, or heat embossed for a variety of different looks. I also like the greetings and type font.
There are a number of layouts in the catalog that I thought would work well with this set so I cased the layout on page 70. I haven’t done much watercoloring lately so I decided try out the Fluid 100 watercolor paper introduced by Stampin’ Up! last year. This paper is smoother and is also a brighter white than our previous watercolor paper and it worked beautifully!
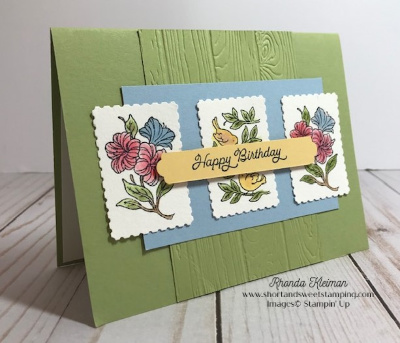
Here is how I made the card.
- Card base – cut a piece of Pear Pizzazz cardstock at 5 1/2″ x 8 1/2″, score and fold in half.
- Cut another piece of Pear Pizzazz cardstock at 3″ x 4 1/4″and run through an embossing machine with the Pinewood Planks 3D embossing folder. Adhere to center of card base.
- Cut piece of Seaside Spray cardstock at 2 1/2″ x 4″ and adhere to card.
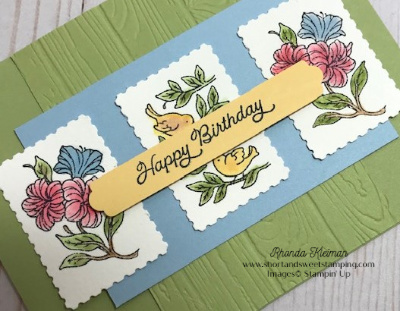
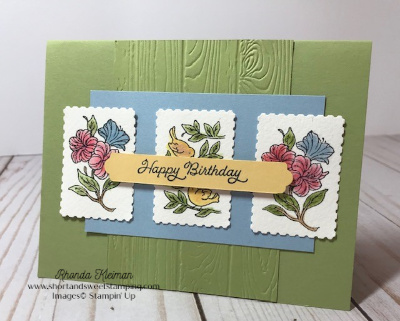
- Stamp floral image twice on piece of Fluid 100 watercolor paper with black Stazon ink. Use Seaside Spray, Flirty Flamingo, Pear Pizzazz and Soft Suede inks and color in the images with a Water Painter. Note that Stampin’ Up! retired the Aqua Painters and replaced them with these new Water Painters, which come in a package with three different brush in sizes.
- Stamp bird image once and color with So Saffron and Pear Pizzazz ink.
- Punch out all three images with the Rectangular Postage Stamp. Adhere to Seaside Spray piece.
- Stamp birthday greeting with Tuxedo Black Memento ink on 1/2″ x 4″ strip of So Saffron cardstock. Using the Lovely Labels Pick a Punch, center the strip in the 1/2″ track with the rounded top design and punch both ends. Adhere over stamped images with Mini Stampin’ Dimensionals.
- Cut piece of Whisper White cardstock at 4″ x 5 1/4″ and adhere to inside of card.
Thanks for stopping by today!


There are only four days left to take advantage of this promotion. Place an individual or group order of $250 or more now through June 30th and receive an additional $25 in Stampin’ Rewards! This is in addition to the standard host rewards that you get with an order of $150 or more.

There are only four days remaining to take advantage of the best deal in the new catalog! Now is a great time to join Stampin’ Up! as either a demonstrator or a “happy discount shopper!” You get to pick $125 worth of products for only $99, plus you get free shipping. You will also get to pick any bundle of your choice for free! Choose either a stamp set with coordinating punch or set of dies, There are some fabulous bundles to choose from. I would love to have you as part of my team. Click here to learn how.
Product List
 |  |
 | |
 | |
 |  |
 | |
 |  |
 |  |
 |  |


