
Hello!
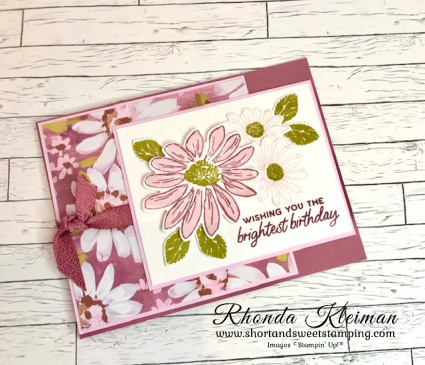
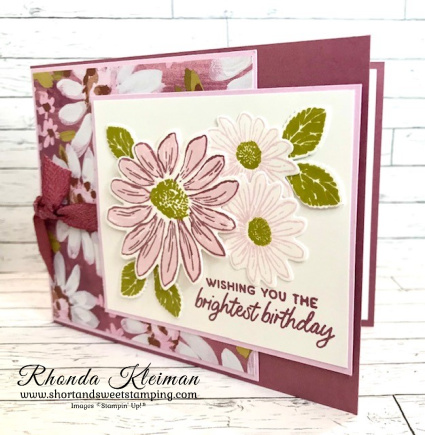
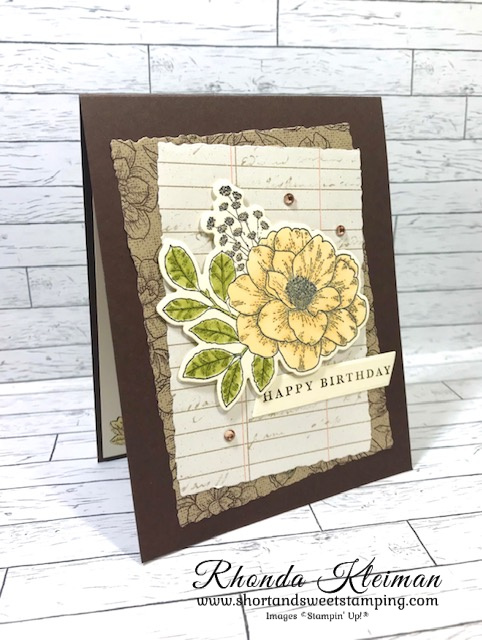
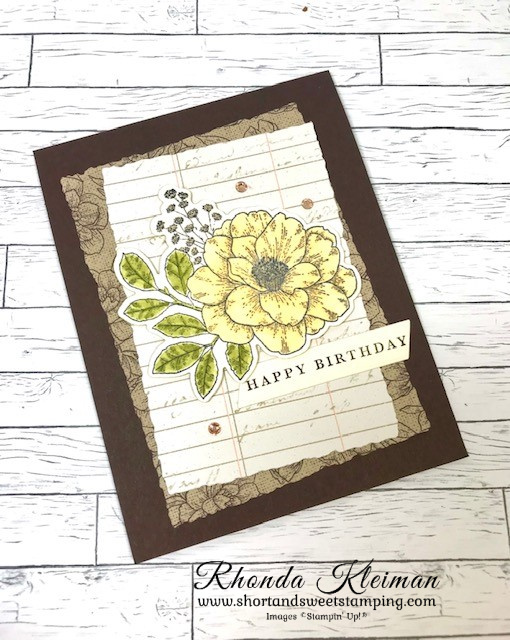
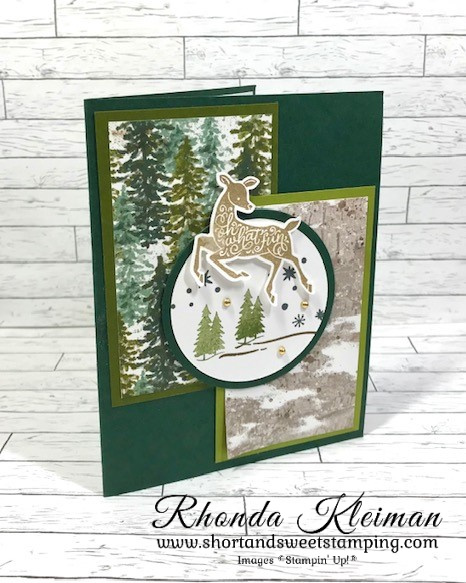
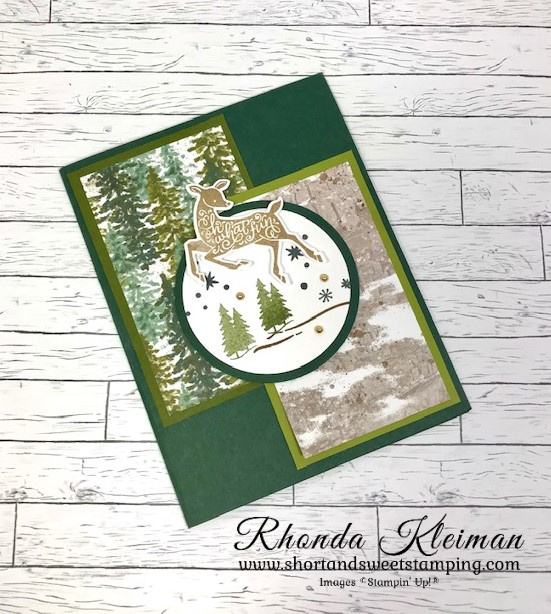
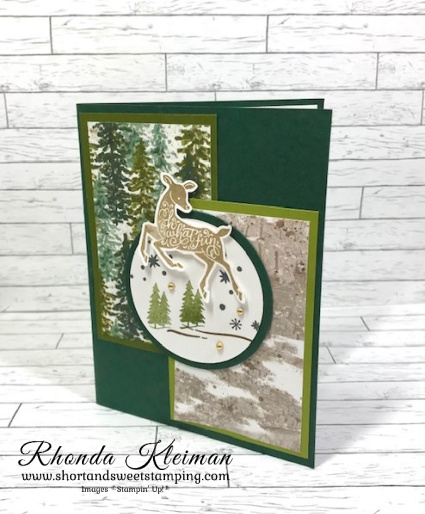
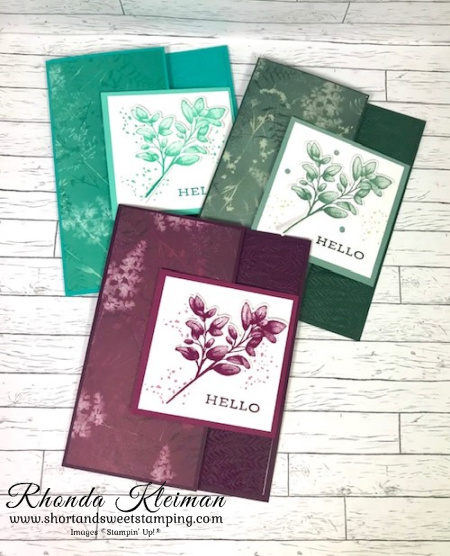
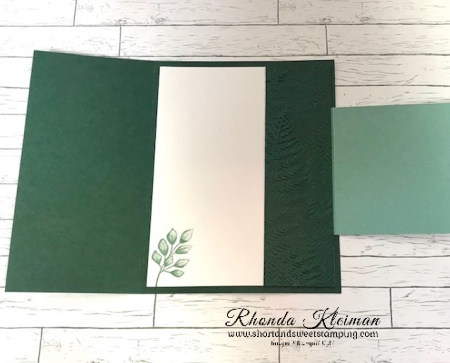
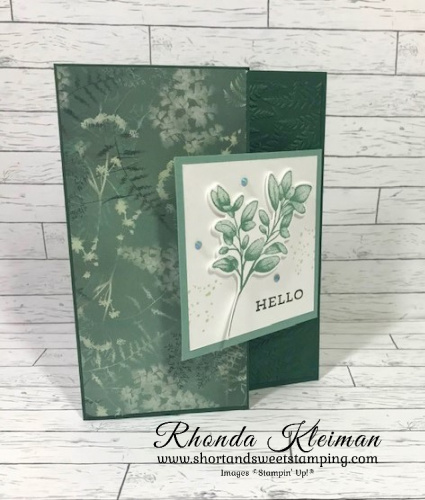
I finally had some time to sit down yesterday to make my first card with brand new products from the 2023-2024 Annual Catalog that goes “live” tomorrow! I used the Cheerful Daisies bundle and the coordinating Fresh as a Daisy Designer Series Paper, along with three new colors: Moody Mauve, Bubble Bath and Wild Wheat. I’ve been wishing for a light pink and Bubble Bath is a new color that has been added to the Subtles Collection. I’m loving it! The layout for this card is one that has been my “go to” for many years because it works really well to show off both Designer Series Papers, stamps and dies.
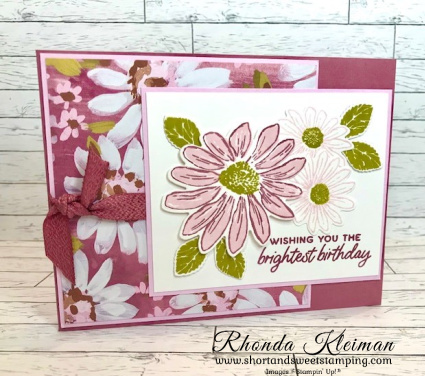
Here is how I made the card.
- Card base – cut a piece of Moody Mauve cardstock at 4 1/4″ x 11″, score at 5 1/2″, fold and crease with a bone folder.
- Cut two pieces of Bubble Bath cardstock, one at 4 1/8″ square and one at 3 1/4″ x 4″. Cut a piece of Fresh as a Daisy DSP at 4″ and adhere to the square piece of Bubble Bath cardstock.
- Cut a piece of Basic White cardstock at 3 1/8″ x 3 7/8″. Stamp birthday greeting in lower right corner with Moody Mauve ink.
- Cut another piece of Basic White cardstock to stamp the flowers and leaves. Cheerful Daisies is a two-step stamp set. Stamp the largest daisy image outline stamp with Moody Mauve ink. Stamp the fill-in with Bubble Bath ink. Stamp the smaller daisy outline stamp twice with Bubble Bath ink. Stamp flower centers with Wild Wheat ink. Stamp five single leaves with Wild Wheat ink. Run all images through Stampin’ Cut & Emboss Machine with coordinating Cheerful Daisies dies.
- Adhere the large daisy to the smaller Basic White cardstock piece with Stampin’ Dimensionals. Adhere the two smaller daisies with either mini glue dots or liquid glue, tucking them under the larger daisy. Arrange leaves around the three flowers and adhere with mini glue dots. Adhere piece to the smaller piece of Bubble Bath cardstock.
- Cut a length of Moody Mauve 3/8″ Textured Ribbon and tie in a knot around the piece with the DSP. Trim the tails. Adhere piece to card base. Adhere the piece with the stamped images to the DSP piece.
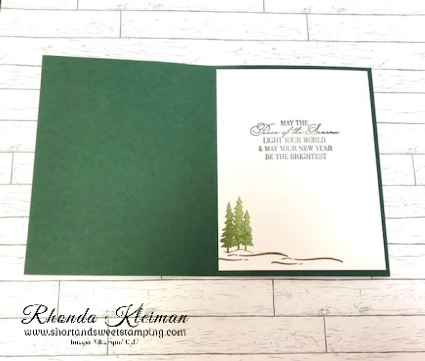
- Cut a piece of Basic White cardstock at 4″ x 5 1/4″. Stamp the small triple daisy image in the lower left corner with Moody Mauve ink and color in the centers of the flowers with the Wild Wheat Stampin’ Write Marker. Adhere to inside of card.
I am unable to link to the new products until tomorrow. Here are the products, item numbers and prices.
- Cheerful Daisies Bundle – Item #161297 $53.00
- Fresh as a Daisy Designer Series Paper – Item # 161289 $12.50
- Moody Mauve Cardstock – Item # 161723 $10.00
- Bubble Bath Cardstock – Item # 161718 $10.00
- Moody Mauve Classic Stampin’ Pad – Item #161649 $9.00
- Bubble Bath Classic Stampin’ Pad – Item # 161664 $9.00
- Wild Wheat Classic Stampin’ Pad – Item # 161651 $9.00
- Moody Mauve 3/8″ Textured Ribbon – Item #161630 $8.00
Thanks for stopping by today!


Today is your last chance to order products from the retiring 2022-2023 Annual Catalog and the January 2023-April 2023 Mini Catalog! As of midnight tonight they will no longer be available.
Click here for the retired products list from the 2022-2023 Annual Catalog.
Click here for the retired products list from the January 2023-April 2023 Mini Catalog.

Place an online order between $50 and $149 and use this host code for May. You will receive a free gift from me the following month. If your order is $150 or more DO NOT use the host code. You will qualify for Stampin’ Rewards.


")
")
")

")
")


 Designer Series Paper")


")
")


 Designer Series Paper")


")


 Designer Series Paper")


