Hello and Happy Valentines Day!
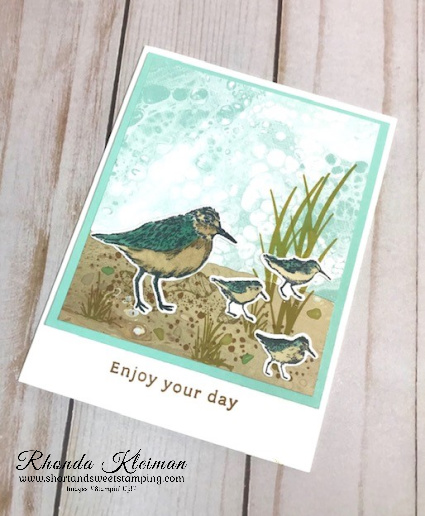
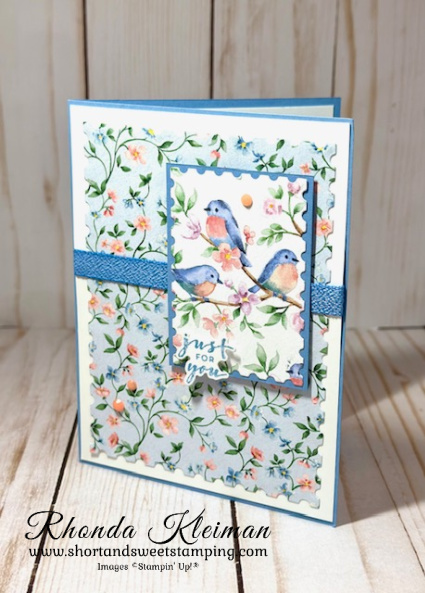
I’ve been busy making cards and holding classes for the last few weeks but haven’t had the time to post anything, so here is a quick card I made using the sweet Flight & Airy DSP, which is a Sale-A-Bration you can earn for free with a $50 purchase.

Here is how I made the card.
- Card base – cut a piece of Boho Blue cardstock at 5 1/2″ x 8 1/2″, score at 4 1/4″, fold and crease with a bone folder.
- Cut a piece of Basic White cardstock at 4 1/8″ x 5 3/8″. Cut a piece of Flight and Airy DSP at 4″ x 5 1/4″and run through your die cutting machine with the largest die from the Perennial Postage Dies. Adhere to the Basic White cardstock. Cut a piece of Boho Blue 3/8″ Textured Ribbon at 5 1/2″. Wrap around the DSP piece and adhere ends of ribbon to back of piece with Scotch tape or Tear and Tape. Adhere to card base.

- Cut a piece of Boho Blue cardstock at 2 1/8″ x 2 7/8″. Cut a piece of DSP with bird images at 2 1/2″ x 3 1/4″ and run through embossing machine with the largest of the smaller rectangular dies from the Perennial Postage dies. Adhere to cardstock
- Adhere to card front using Stampin’ Dimensionals.
- Stamp greeting from Charming Sentiments on scrap piece of Basic White cardstock with Boho Blue ink. Run through die cutting machine using coordinating die from the Sentiments Silhouettes dies. Adhere to the bird piece with Mini Stampin’ Dimensionals.
- Add a bit of bling with the Opaque Faceted Gems, which is another Sale-A-Bration item you can earn for free with a $50 purchase.
- For the inside of the card I cut a piece of Basic White cardstock at 4″ x 5 1/4″ and fussy cut out one of the birds from the DSP sheet with the different colored birds.
Thanks for stopping by today!


Stampin’ Up! has just added more products that you can earn for free with a $50 or $100 purchase. Sale-A-Bration runs through February 29th. Here are the new selections.
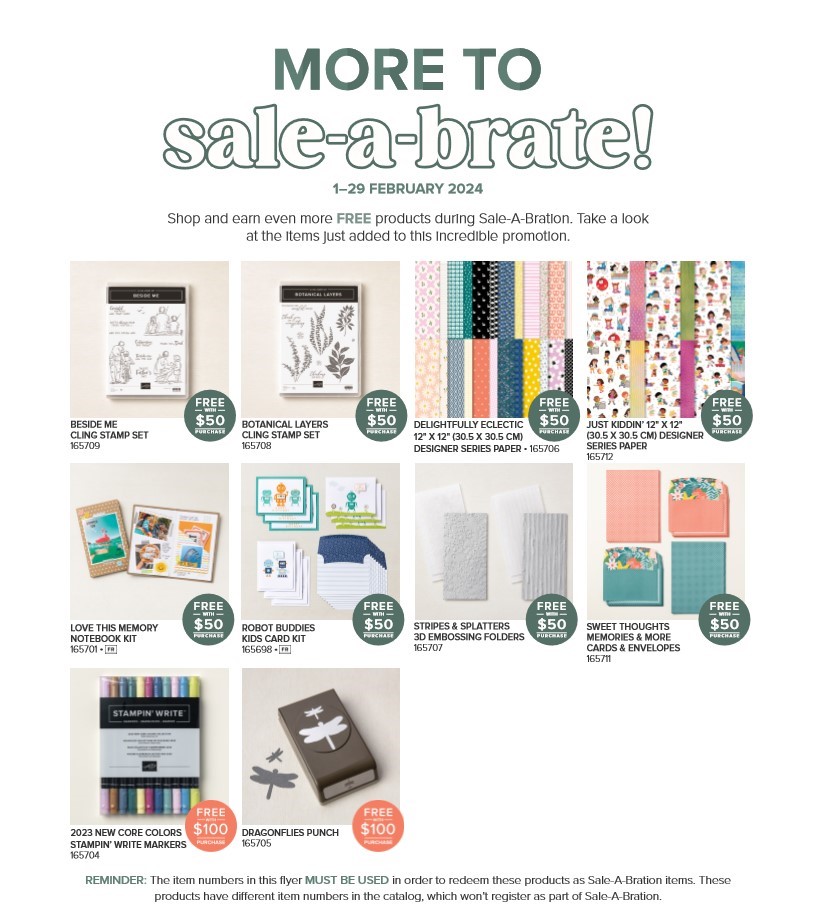
If you choose to redeem any of these items as your free gift, you must use the item numbers listed on this flyer. To view the Sale-A-Bration brochure, just click on the picture of the front cover on the side of this blog post.

During Sale-A-Bration, when you join Stampin’ Up! you can choose $125 of products for only $99, which includes shipping. You get to choose from two FREE bonus options – either this Glass Mat Studio (a $60 value) or your choice of an additional $30 in FREE products. The Glass Mat Studio has been creating quite a buzz! The Stampin’ Glass Mat Studio is a paper crafter’s dream! The heavy-duty glass mat comes printed with a ruler and grid lines for easy measuring, while the large surface space gives ample room for spreading out while paper crafting. The safety-tempered glass has a heat and scratch resistant surface that wipes clean with the included cloth and water—no chemicals needed. The reusable cloth also cleans ink off your stamps! The nonslip, heat resistant, waterproof silicone mat features four palette squares for mixing custom ink colors or for holding small ink spots in place while crafting. Each component can be used separately or you can use all three items together for a multipurpose paper crafting studio that’s both functional and elegant.
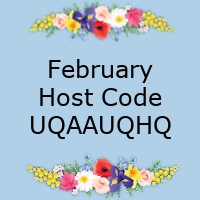
Place an online order between $50 and $149 and use this host code for February. You will receive a free gift from me the following month. If your order is $150 or more DO NOT use the host code. You will qualify for Stampin’ Rewards.
Product List


