Earthen Textures Card

Hello!

I’m back again after more than a month long absence. I’ve been undergoing renovations in my home and things have been beyond hectic! I’ve been sitting on lots of new products from the holiday mini catalog that have yet to be touched, so my next few posts will be for cards that I’ve made in the last two months as I play catch up. There will probably be weeks here and there where I will be missing again, as I finish up with contractors and furniture deliveries, but these will be minor interruptions.

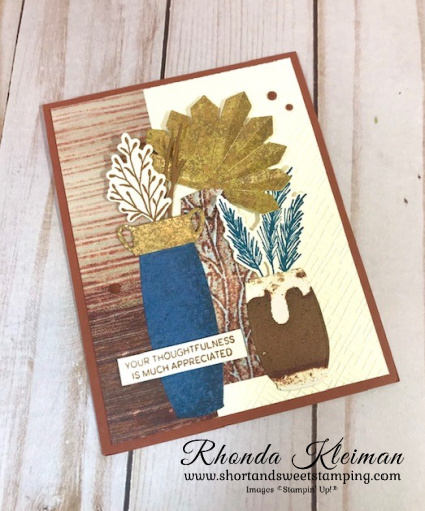
Today’s card is another one I made using the Earthen Elegance Suite, which was the first thing I purchased when the new annual catalog came out.

Here is how I made the card.

  • Card base – cut a piece of Copper Clay cardstock at 4 1/4″ x 11″, score at 5 1/2″, fold and crease with a bone folder.
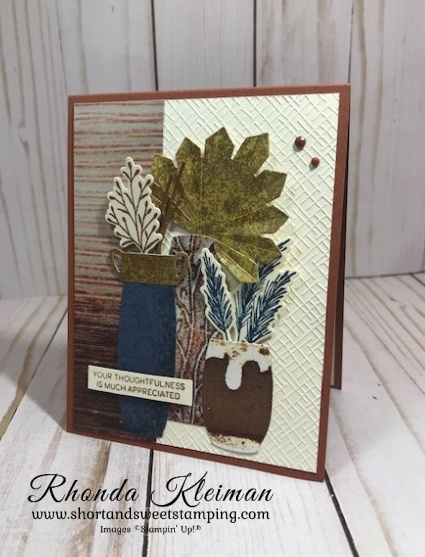
  • Cut a piece of Very Vanilla cardstock at 4″ x 5 1/4″. Run through the Stampin’ Cut & Emboss Machine with the cross hatch embossing folder from the Basics 3D Embossing Folder set. Adhere to card front.
  • Cut a strip of Earthen Elegance Designer Series Paper at 1 1/2″ x 5 1/4″ and adhere to left side of embossed piece. Adhere to card front.
  • Use the long vase die from the Earthen Textures Dies to run two different DSP scrap pieces through the Stampin’ Cut & Emboss Machine. Cut a small piece of the brown and white DSP with the drip design and run through machine with smaller vase die.
  • Run large leaf and vase handles through machine with Distressed Gold Specialty Paper and coordinating dies. Adhere vase handle piece to one of the large vases.
  • Stamp two different leaf images on Very Vanilla cardstock with Pecan Pie and Misty Moonlight ink. run through die cutting machine with coordinating dies.
  • Run a scrap piece of Pecan Pie cardstock through die cutting machine with the twig die.
  • To assemble the card, adhere the large Distressed Gold leaf to the back of one of the large vase pieces with mini glue dots. Adhere to card front. Adhere the Pecan Pie leaf and twig to the back of the other large vase with mini glue dots. Adhere the Misty Moonlight leaf to the smaller vase with mini glue dots. Adhere both vases to card front, overlapping the center vase.
  • Stamp greeting with Pecan Pie ink on scrap piece of Very Vanilla cardstock, trim the cardstock and adhere to card front with Mini Stampin Dimensionals.
  • Add a bit of bling with a few Copper Clay Adhesive-Backed Gems.
  • For the inside of the card, cut a piece of Very Vanilla cardstock at 4″ x 5 1/4″. Stamp a leaf image with Pecan Pie ink in the bottom left corner and adhere.

Thanks for stopping by today!

Place an online order between $50 and $149 and use this host code for October. You will receive a free gift from me the following month.  If your order is $150 or more DO NOT use the host code. You will qualify for Stampin’ Rewards.

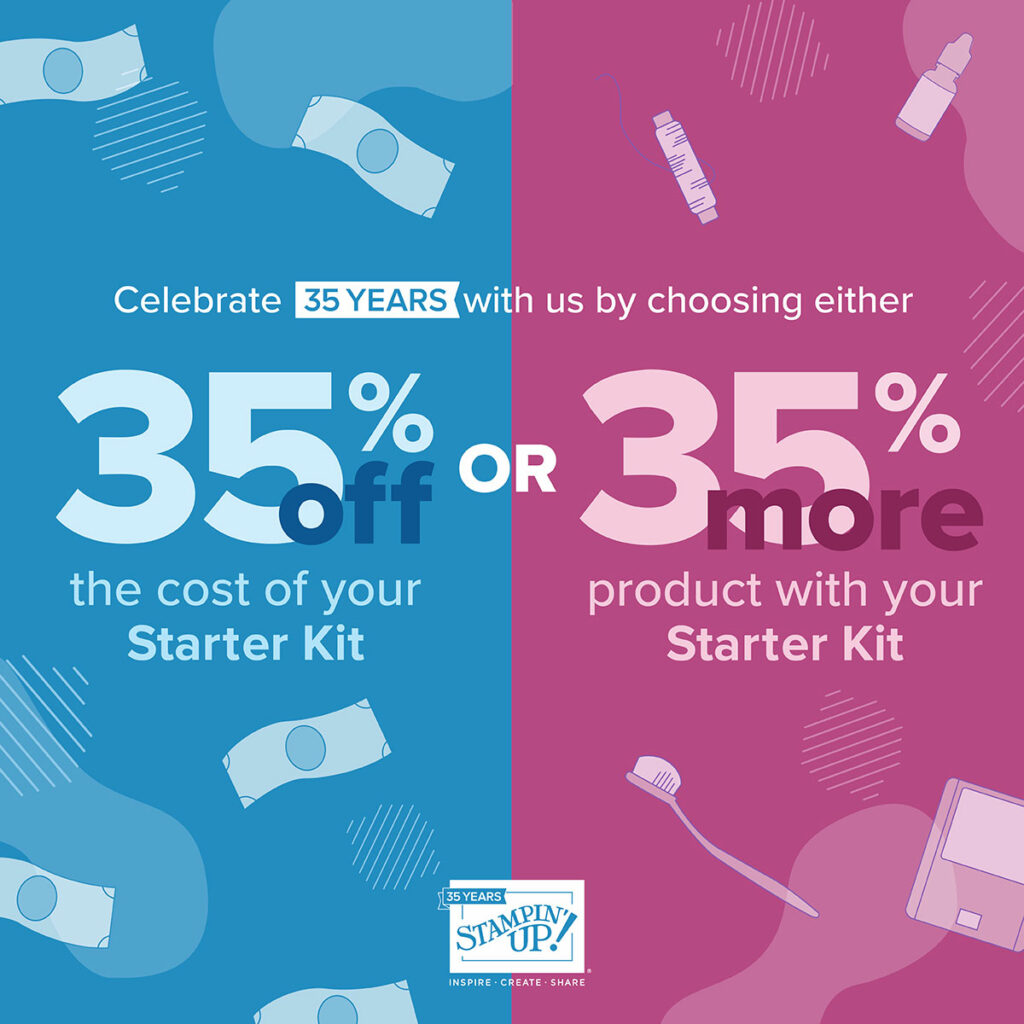
In honor of SU’s 35th anniversary, this month there are two amazing options for joining!

  • Option 1- Get 35% off the regular cost of the Starter Kit.  Receive $125 in merchandise for only $64.35.
  • Option 2 – Get 35% more product with the Starter Kit. You will receive $168.75 worth of product by spending only $99.
  • Both kits include free business supplies and free shipping.

In addition, if you sign up by the October 31st deadline, you will also be automatically registered for FREE to our virtual OnStage event on November 11th, a $77 value!

For further details and to join, click here.

Product List

Earthen Elegance Step Card

Hello!

Today’s card is one that we made at my monthly in-person class this past Saturday and it showcases the awesome Earthen Elegance Suite. Of all of the suites in the new annual catalog this is the one that immediately got my attention. The earth tones are rich and the textures in the images are so realistic. This is a great suite for making masculine cards as well. The fun fold is a step card that I learned how to make at a recent Creative Retreat held by Kylie Bertucci and Lisa Curcio and while it might look complicated, is actually very easy to make.

Here is how I made the card.

  • Card base – cut a piece of Copper Clay cardstock at 5 1/2″ x 5 1/2″ and score at 3/4″, 1 1/2″ and 3 1/2″. Crease sharply with a bone folder.
  • Steps – For the large step cut a piece of Copper Clay cardstock at 3″ x 8 1/2″ and score at 4 1/4″ and 8″. For the small step cut a piece of the cardstock at 2″ x 7″ and score at 3 1/2″ and 6 1/2″. Fold both of the steps in half on the score line and crease with a bone folder. Lightly crease the 1/2″ score lines.
  • For the steps cut one piece of Basic White cardstock at 2/7/8″ x 4 1/8″ and one piece at1 7/8″ x 3 3/8″. Adhere to fronts of step pieces. Cut one piece of the Earthen Elegance DSP at 2 3/4″ x 4″ and one piece at 1 3/4″ x 3 1/4″. Adhere to Basic White pieces.
  • On scrap pieces of Basic White cardstock, use the Earthen Textures stamp set to stamp large vase and branch image with Pecan Pie ink and stamp the basket with Pretty Peacock ink. Run through die cutting machine with coordinating Earthen Textures dies.
  • Cut a piece of Pretty Peacock cardstock at 3″ x 4 1/2″ and run through die cutting machine with the large leaf die. Cut a piece of Pretty Pecan cardstock at 1 1/2″ x 4″ and run through die cutting machine with the fern die.
  • Adhere the large and small steps to the bottom front of the card base fold, leaving a small margin on both sides. Adhere the backs of the large and small steps to the back of the card, aligning the bottom of each to the bottom of the back fold.
  • Cut 7″ piece of Natural Wavy Trim, adhere one end at the back of the long vase and wrap it around three times, adhering the remaining end at the back. Adhere large vase to large step, cut off the stem from the large Pretty Peacock leaf and adhere with mini glue dots under the top of the vase. Adhere basket to small step and adhere the fern and branch pieces.
  • Cut piece of Basic White cardstock at 1 7/8″ x 5 3/8″ for the inside greeting. I used the Biggest Wish stamp set, as the greetings fit perfectly on this narrow strip. I stamped “Happy” (block letters) with Pretty Peacock ink at the left side of the strip and then stamped “Birthday” (cursive letters) with Pecan Pie ink, staggering it to the bottom center. Adhere to card.
  • Add several Pretty Peacock gems from the Tinsel Gems 4-Pack to the large step.

Thanks for stopping by today!

The Welcome Inn Paper Pumpkin Kit perfectly coordinates with the Countryside Inn Suite Collection (item number 161474) from the 2023–2024 Annual Catalog! You can use the stamps and paper from both the suite and kit to create cards that are stylish and refined. Create these elegant hospitality cards using the suite’s Countryside Inn 12″ x 12″ (30.5 x 30.5 cm) Designer Series Paper and the kit’s beautiful floral cards. You can purchase a set of coordinating add-on dies that include a vase, flower and leaf, while supplies last. Item number 163192, Price $6.00. Click here to purchase the kit on my Paper Pumpkin website.

The kit includes all supplies needed to create nine cards, three each of three different designs; coordinating stamp set; Night of Navy Stampin’ Spot; embellishments; floral details and precut vases. Coordinating Stampin’ Up! colors: Balmy Blue, Boho Blue, Calypso Coral, Daffodil Delight, Early Espresso, Misty Moonlight, Night of Navy, Old Olive.

Place an online order between $50 and $149 and use this host code for May. You will receive a free gift from me the following month.  If your order is $150 or more DO NOT use the host code. You will qualify for Stampin’ Rewards.

Product List