

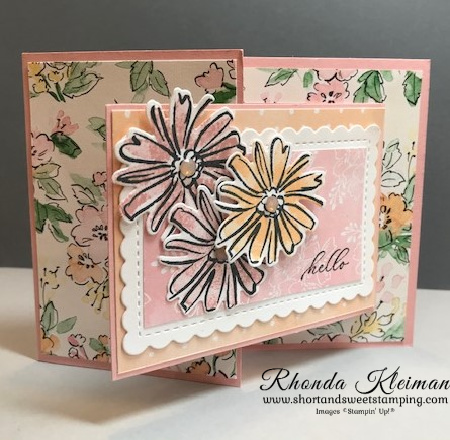
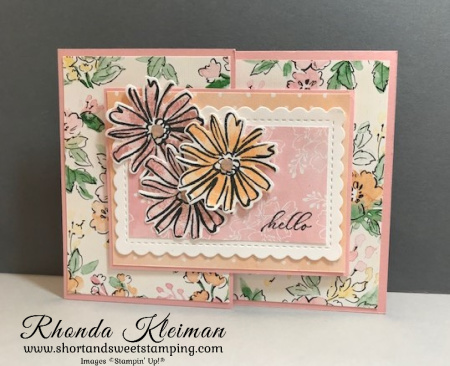
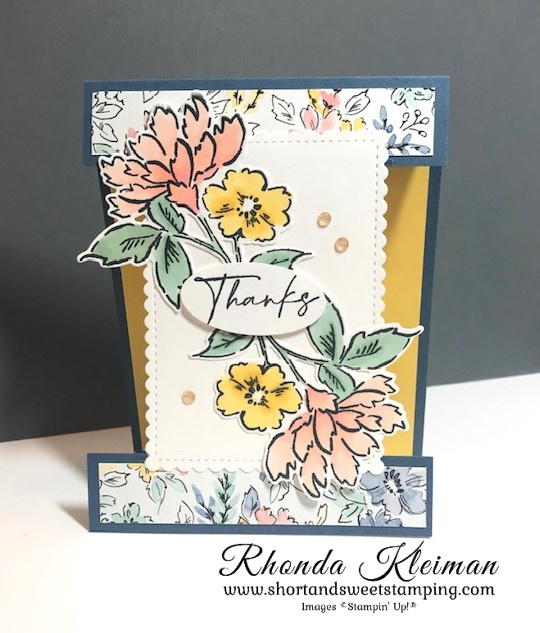
Hello! Today I’m participating in Kylie Bertucci’s International Blog Highlights. Readers get to vote on their top five favorites in the gallery and the top 10 winners will get to participate in an International Blog Hop later this month. The theme is “thank you”. This is one of the cards we made in one of my classes last month, where the projects featured the Hand-Penned Suite and the Color & Contours bundle. While the greeting doesn’t say “thank you,” I’m using this card to send out a special thanks to a friend.
Here’s how I made the card.
- Card base – cut a piece of Blushing Bride cardstock at 4 1/4″ x 8 1/2″, score at 3″, fold and crease with a bone folder.
- Smaller card base – cut a piece of Blushing Bride cardstock at 3″ x 8″, score at 4″, fold and crease with a bone folder.
- Cut one piece of Hand-Penned Designer Series Paper at 4″ x 5 1/4″ and adhere to inside of card base, cut another piece at 2 3/4″ x 4″ and adhere to front fold of card base.
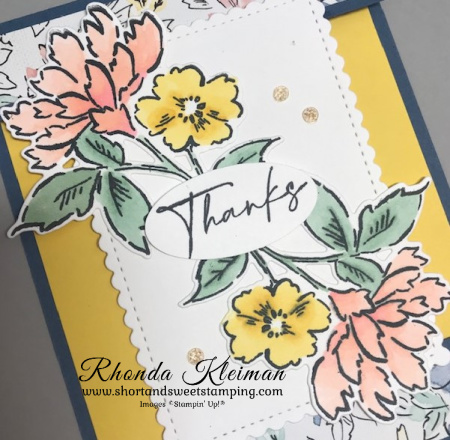
- Using the third largest scalloped rectangle from the Scalloped Contours dies, cut a piece from Basic White cardstock.
- Cut coordinating piece of DSP at 2 3/8″ x 3 7/8″ and adhere to front of smaller card base. Adhere the Basic White scalloped rectangle . Cut another piece of DSP at 1 7/8″ x 3 1/4″. Stamp hello greeting from Timeless Tropical stamp set with Tuxedo Black Memento Ink in lower right corner. Adhere to scalloped rectangle.
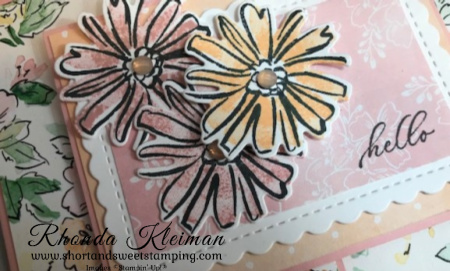
- Stamp three flower outlines from the Color & Contour stamp set on scrap piece of Basic White cardstock with Memento ink. Use the fill stamp to stamp two of the flowers with Blushing Bride ink and one flower with Pale Papaya ink. Cut out with the coordinating die from the Scalloped Contoured dies. Adhere the two Blushing Bride flowers with liquid glue and adhere the Pale Papaya flower with a Stampin’ Dimensional.
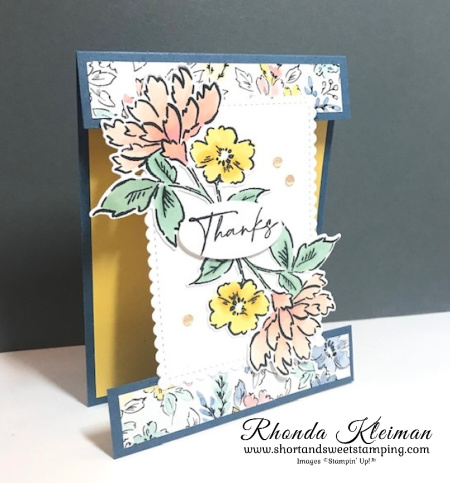
- Adhere the smaller card to the inside card base, making sure that the opening of the smaller card base is to the left and the fold is to the right.
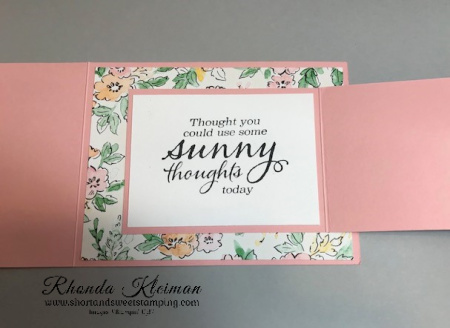
- Cut a piece of Basic White cardstock at 2 3/4″ x 3 3/4″. Stamp greeting from the Sunny Sentiments stamp set with Memento ink and adhere to inside of smaller card.
- Adhere Petal Pink gems from the Elegant Faceted Gems to the center of each flower.
I’d be so appreciative if you would vote for my card! Click on the vote image below. Once you are in the gallery, click on the heart at the top right hand side of the picture as the hearts appear.

Thanks for stopping by today!

Delayed products are now available!
- 156326 – Gingerbread & Peppermint Memories & More Card Pack
- 156327 – Gingerbread & Peppermint Memories & More Cards & Envelopes
- 156275 – Gingerbread & Peppermint Suite Collection
- 156458 – Blackberry Beauty Specialty Designer Series Paper
- 156278 – Blackberry Beauty Suite Collection

It’s Sale-A-Bration time! This is the first time ever that Stampin’ Up! is running a second SAB in the same year! Earn FREE products at the $50 or $100 level. There are no limits on how many items you can earn with every $50 you spend on products from the Annual Catalog or Holiday Mini Catalog. Among the products are some fun holiday Designer Series Papers for you to choose from. Click here to view the brochure.

Place an online order between $50 and $149 and use this host code for July. You will receive a free gift from me the following month. If your order is $150 or more DO NOT use the host code. You will qualify for Stampin’ Rewards.
Product List ") | ||
 | ||
 |  | |
 |  |  |
 |  |  |
 |

")
")


 Designer Series Paper")


")


