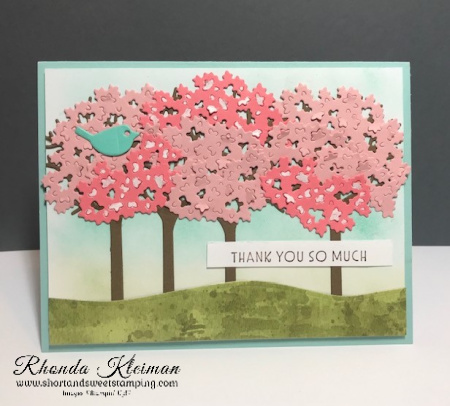
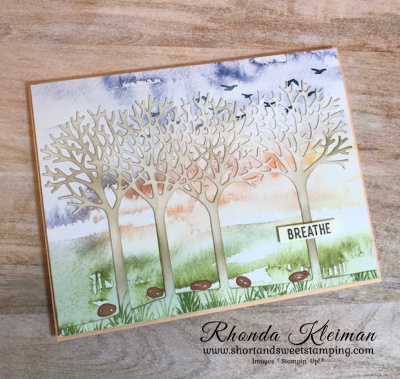
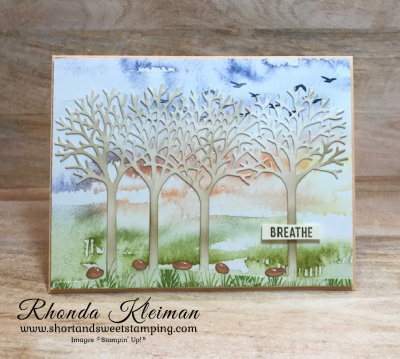
Hello! Today’s card features products from the New Horizons Suite in the January-June 2022 Mini Catalog, along with Inspiring Canopy, one of my favorite dies from the annual catalog.

This suite was the first thing that caught my eye in the new mini catalog, especially the stunning designer series paper. You can make simple and beautiful cards with just the DSP alone and a greeting, however the fun comes in when using the DSP as a backdrop to incorporate die cuts, stamped images, and accessories.
Here is how I made the card.
- Card base – cut a piece of Pale Papaya cardstock at 5 1/2″ x 8 1/2″, score at 4 1/4″, fold and crease with a bone folder.
- Select a piece of paper from the New Horizons Designer Series Papers and trim to 5 3/8″ x 4 1/8″. I chose a paper that had more subtle sections of grass and sky to get the look I wanted. In the upper right corner of the DSP, stamp the seagulls from the On the Horizon stamp set with Misty Moonlight ink once at full strength. Stamp the image again, moving slightly down and to the left of the first image, and stamping off once before stamping onto the paper.
- Cut a piece of Very Vanilla cardstock at 4″ x 5 3/4″ and run it through the Cut & Emboss Machine with the trees from the Inspiring Canopy dies.
- Color the trees using blending brushes. I used Old Olive as the primary color for the grass, adding a bit of Soft Succulent. For the tree trunks and branches I started with Soft Suede for the tree trunks, Crumb Cake for the bottom portion of the branches and Sahara Sand for the tops of the branches, going over each section to build up the color. I also stamped the grass part with the smallest grass image from the Oceanfront stamp set. I used Old Olive ink and randomly stamped the image across the area, some at full strength and some stamping off first.
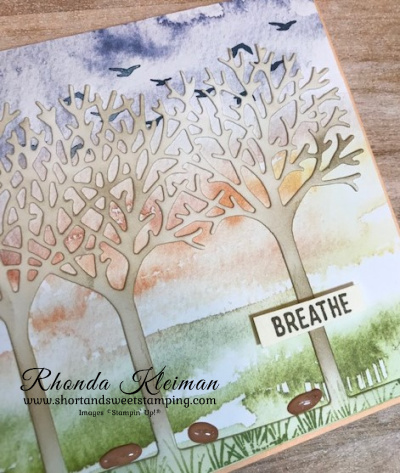
- Adhere the die cut to the DSP with liquid glue. You can also use adhesive sheets but you have to prep the cardstock with the sheet prior to die cutting.
- Adhere the DSP piece to card front with Stampin’ Dimensionals.
- Stamp “Breathe” with Soft Suede ink on a scrap piece of Very Vanilla cardstock and trim with Paper Snips Scissors. Adhere to card front with Mini Stampin’ Dimensionals. My strip of cardstock was narrow so I cut the dimensionals in half.
- I added some Cinnamon Cider embellishments from the Pebbles Enamel Shapes right above the grassy area for an added accent.
- For the inside of the card, cut a piece of Very Vanilla cardstock at 4″ x 5 1/4″.
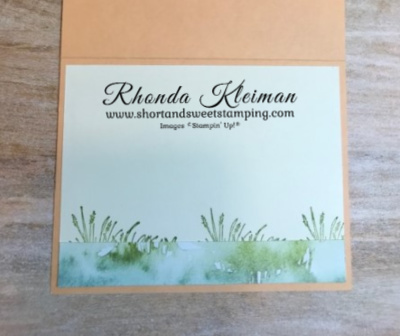
- Stamp the large grass image from the On the Horizon stamp set with Old Olive ink several times approximately 1 1/2″ from the bottom of the piece. Alternate stamping at full strength and stamping off. I used one of the strips of DSP that was left over from the piece I used for the card front, cutting it down to 3/4″ x 5 1/4″ and adhered it to the bottom of the piece, covering up the bottoms of the stamped leaves, leaving just the top of the leaves showing.
Thanks for stopping by today!


Sale-A-Bration is a great time to join Stampin’ Up! Select $125 worth of products for only $99 and you will also get two FREE stamp sets (excluding host sets and SAB sets) of your choice! The kit ships for free. As a demonstrator you will enjoy a 20% discount on all future orders. Become a happy discount shopper or build a business – the choice is yours. I’d love to have you join my team! Click here to learn more about the benefits of joining Stampin’ Up!

Place an online order between $50 and $149 and use this host code for January. You will receive a free gift from me the following month. If your order is $150 or more DO NOT use the host code. You will qualify for Stampin’ Rewards.
Product List


