
Hello!
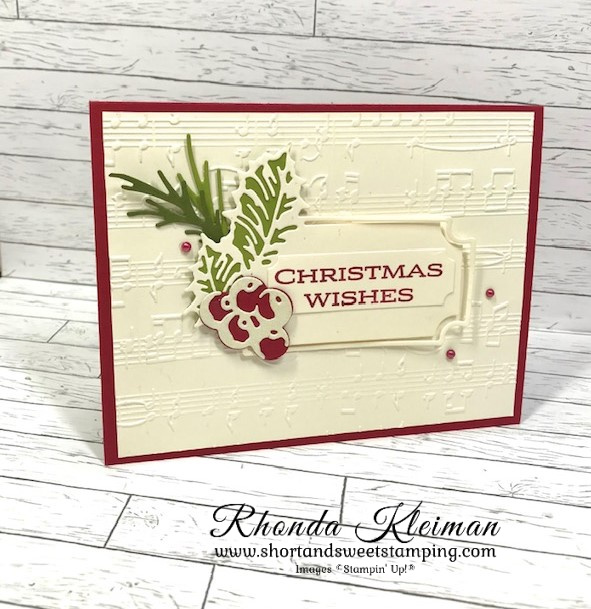
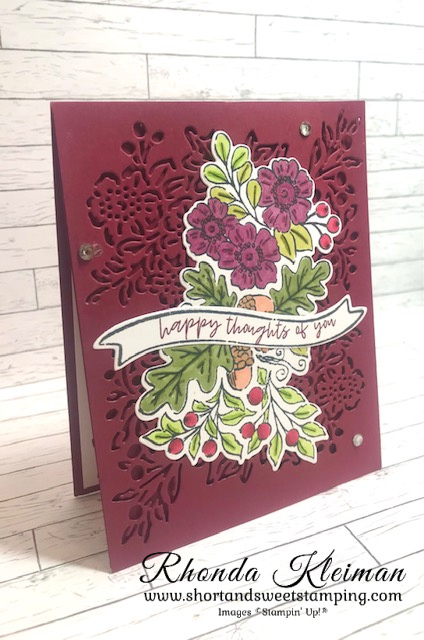
Today, I’m posting my last Christmas card for the season and it is from the Boughs of Holly Suite. I had big plans to do many more cards with this beautiful suite, but you know what they say about the best laid plans……… I didn’t get around to using much of the Boughs of Holly DSP, however, I think this is an elegant card, even without it. I chose to use Very Vanilla cardstock rather than Basic White to give a richer look. I used the Merry Melody 3D Embossing Folder for the background. This folder is one of my all-time favorites and I will never part with it!!
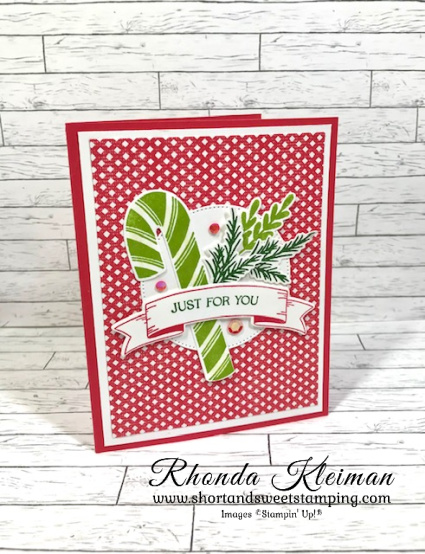
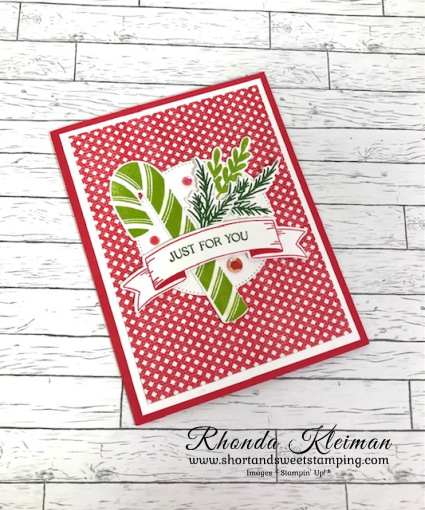
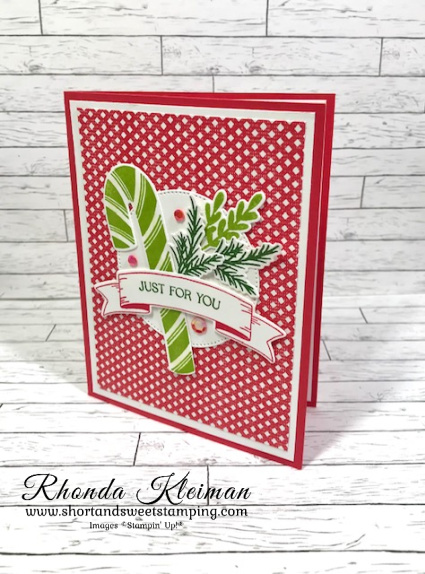
Here is how I made the card.
- Card base – Cut a piece of Cherry Cobbler cardstock at 5 1/2″ x 8 1/2″, score at 4 1/4″, fold and crease with a bone folder.
- Cut a piece of Very Vanilla cardstock at 4″ x 5 1/4″ and run through a die cutting and embossing machine with the Merry Melody 3D Embossing Folder. Adhere to card front.
- Cut a piece of Very Vanilla cardstock at 3″ x 4″ and using the leaf label die from the Holly Berry Dies, run through die cutting machine. Run a scrap piece of Old Olive cardstock through die cutting machine with the double leaf die. Adhere to the leaves on the label.
- Run small scraps of Old Olive and Evening Evergreen cardstock through die cutting machine with the sprig die. Adhere behind the leaves on label. Adhere label to card front with Stampin’ Dimensionals.

- Run a scrap piece of Cherry Cobbler cardstock through die cutting machine with the berry die. Die cut the berry accent piece with a scrap piece of Vanilla Glimmer Paper from the Glimmer Specialty Paper. Adhere to berries. Adhere to label.
- Die cut the smaller label with a scrap piece of Very Vanilla cardstock and stamp greeting with Cherry Cobbler ink. Adhere to leaf label.
- Embellish card front with several Cherry Cobbler Festive Pearls.
- Cut another piece of Very Vanilla cardstock at 4″ x 5 1/4″, stamp greeting and adhere to inside of card.

Thanks for stopping by today!


Save up to 60% on retiring products from the July-December Holiday Mini Catalog starting today.
Click here to view the retiring products list
Click here to view the list of carryover products that will still be available after the Mini Catalog retires
The Clearance Rack has been refreshed and lots of products have been added! Click here to check it out. I just did a quick check and there are still lots of great items available but remember that availability is only while supplies last!

Place an online order between $50 and $149 and use this host code for December. You will receive a free gift from me the following month. If your order is $150 or more DO NOT use the host code. You will qualify for Stampin’ Rewards.
Product List ") |  | |
 | ||
 |  | |
 |  |  |
 |  |
")


 Specialty Paper")

")
")

")
")


 Designer Series Paper")


")
")


 Designer Series Paper")
 Glimmer Paper")


")
")


")


")


 Specialty Designer Series Paper")
 Specialty Paper")


")
")
")

 Designer Series Paper")


