
Hello!
I’ve been AWOL for the last few weeks and am finally able to catch up with Stampin’ Up! news! The last two months have been crazy time for me. I’ve been busy with in in-person card making classes, taking care of getting several income tax returns ready for my accountants, working on a huge client project that picks up steam in March and April, and finally, taking a short vacation from the end of March into early April. I spent several days in one of my favorite cities – New Orleans, visiting with my dearest friends from my college days of 50 years ago! They have a lovely second home in the Garden District. This is the fourth time I’ve been to NOLA in the last 30 years. We visited the World War ll Museum, Oak Alley Plantation, did a swamp tour through the Jean Lafitte National Park, where we saw many alligators – oh my! Also visited City Park’s beautiful outdoor sculpture garden, strolled down Magazine Street and had meals at some fabulous restaurants. And of course, no visit to NOLA would be complete without a stop at Cafe Du Monde for the beignets!


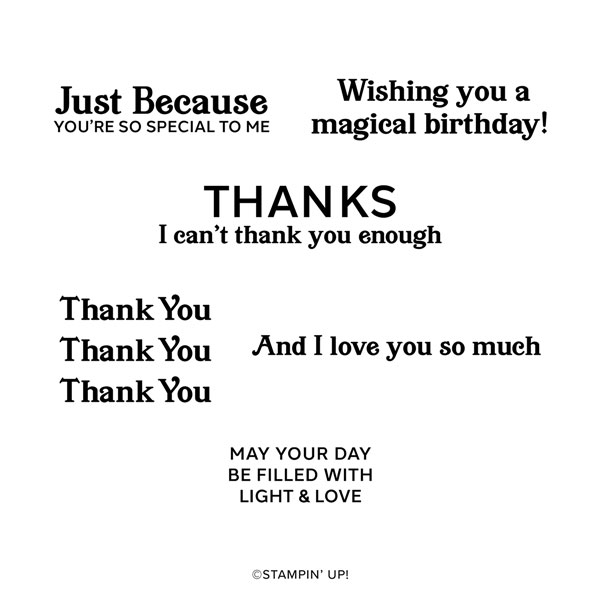
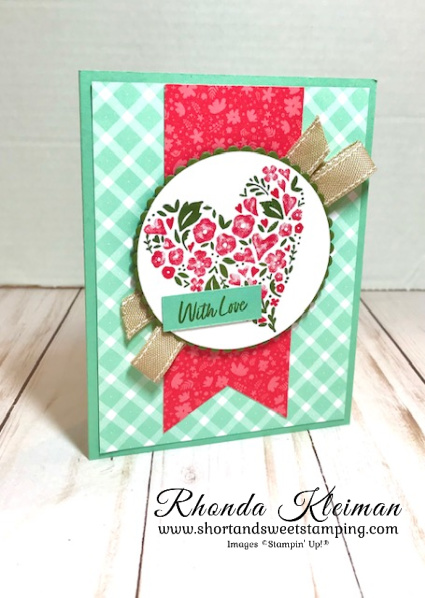
Since I’m late in posting this, by now you probably know that the 2022-2023 Annual Catalog and the January-April 2023 Mini Catalog are retiring on May 1st and the new 2023-2024 Annual Catalog will go live on May 2nd. Click on the catalog covers below to view the retiring lists for both catalogs. There discounts on many of the products. Since this is a year for a color rrefresh, most of the inks, reinkers, cardstock, etc. for those retiring colors have already sold out and are now discontinued. My next blog post will have all the information you need about the new, returning and retiring colors. The Stamparatus is now discontinued. Several of my favorite, most heavily used die sets are retiring and as of now, are still available while supplies last – Layering Circles, Stitched Rectangles, Diorama Dies. One other thing to note as you look at the lists. A number of bundles will be retiring and will not be carrying over to the new catalog. However, a number of stamp sets and dies that were in bundles will carry over and will be sold separately, without the 10% discount. So if you have any bundles on your wish list that are retiring you might want to consider purchasing them now.
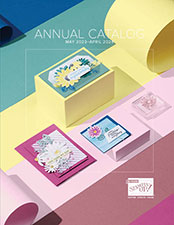
Click on the catalog cover below to view the list of Last Chance products in the annual catalog.

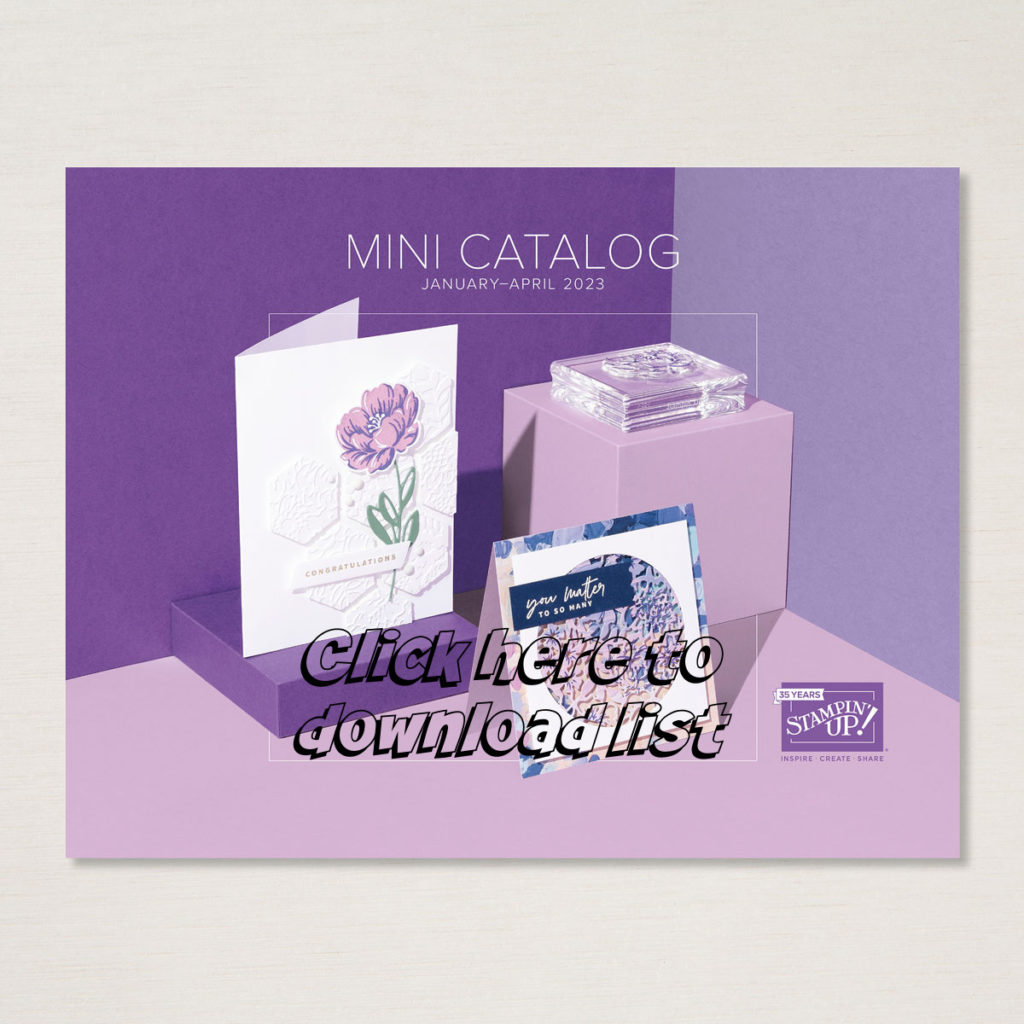
Click on the cover below to view the list of Last Chance products in the January-April Mini Catalog.
Here is the cover of the new 2023-2024 Annual Catalog. Stampin’ Up! demonstrators are not allowed to show the inside of the catalog until it goes live, so this is all you can see for now! The cover shows some new colors – so pretty!! If you are one of my customers and have placed orders with me in the last year you will receive a catalog in the mail from me in the next week or two. If you do not have a demonstrator and would like a catalog please feel free to contact me. I’d be happy to be your demonstrator!
Thanks for stopping by today!


Place an online order between $50 and $149 and use this host code for April. You will receive a free gift from me the following month. If your order is $150 or more DO NOT use the host code. You will qualify for Stampin’ Rewards.


")
")
")
")

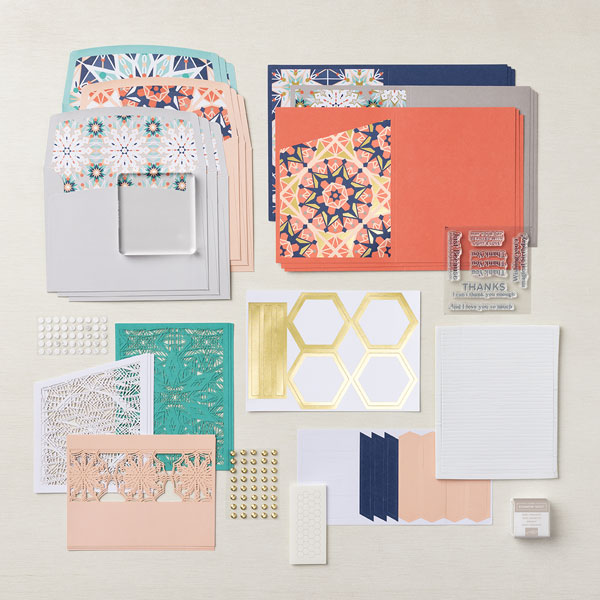
 Specialty Designer Series Paper")


 Sheer Ribbon")


")
")
")


 Designer Series Paper")


")
")
")


 Designer Series Paper")
 Designer Series Paper")
 Designer Series Paper")


 Designer Series Paper")


")
")
")

")
")

 Designer Series Paper")


