

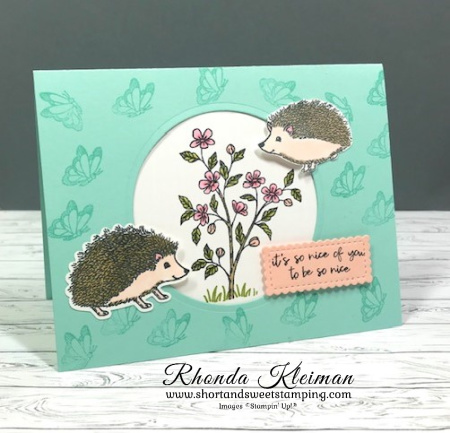
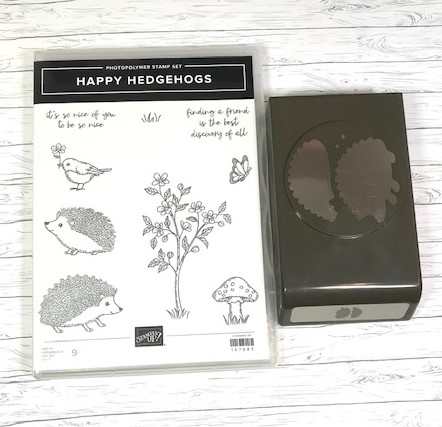
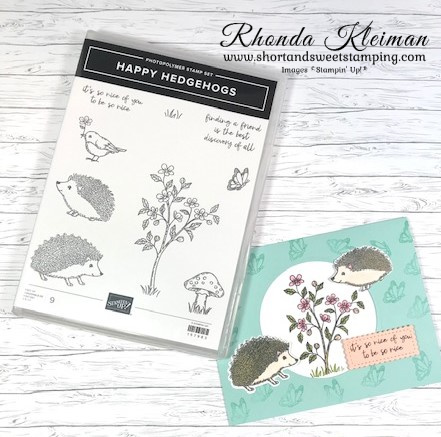
Hello! Today’s card is a sneak peek of the Happy Hedgehogs stamp set and Hedgehog Builder Punch from the new January-June 2022 Mini Catalog. You will be able to purchase these items beginning on January 4th. This is not the type of stamp set I normally purchase but I couldn’t resist working with these darling images – they are too cute!
Here is how I made the card.
- Card base – cut a piece of Pool Party cardstock at 5 1/2″ x 8 1/2″, score at 4 1/4″, fold and crease with a bone folder.
- Place the largest circle die from the Layering Circles dies in the center of the card front and run through the Stampin’ Cut and Emboss Machine.
- Randomly stamp the butterfly with Pool Party ink all around the card front.
- Cut a 3 1/2″ square of Basic White cardstock and stamp the tree image with Tuxedo Black Memento ink. Color with these Stampin’ Blends: Light Soft Suede, Light and Dark Old Olive, Light and Dark Flirty Flamingo, Dark Petal Pink. When I stamped the image, I left off the bottom part of the tree trunk and stamped the grass with the little grass stamp and Old Olive ink. Adhere to the back of card front, making sure to center the image in the circle opening.
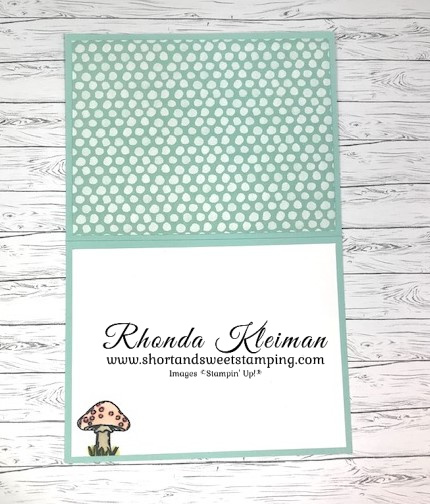
- Since I used Stampin’ Blends to color the image, the colors bled through to the back of the cardstock, so I cut a 4″ x 5 1/4″ piece of Pattern Party Designer Series Paper and adhered it over the back of the image in order to cover it up.
- Stamp a large and small hedgehog on scrap pieces of Basic White cardstock. These are the Stampin’ Blends I used to color in the images. Light Petal Pink for the bodies, Dark Flirty Flamingo for the ears. Light Soft Suede for the top part of the larger Hedgehog, Dark Crumb Cake for the smaller hedgehog. I also colored around the bottom of each body, following the little lines.
- Punch out the larger hedgehog with the builder punch and adhere to bottom left of card front as shown. I used liquid glue on the part that is adhered outside the circle and placed two Mini Stampin’ Dimensionals underneath the part that is inside the circle. Fussy cut the smaller hedgehog and adhere in the same manner at the upper right of card front.
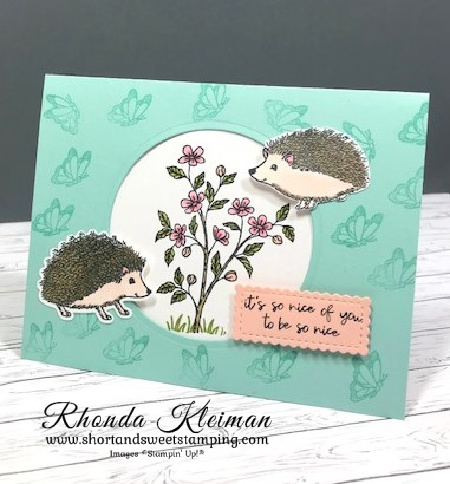
- Stamp the greeting on a scrap piece of Petal Pink cardstock with the Memento ink. Run through the Stampin’ Cut and Emboss Machine with the smallest rectangle scallop die from the Stitched So Sweetly dies. Adhere with Mini Stampin’ Dimensionals to card as shown.
- Cut a piece of Basic White cardstock at 4″ x 5 1/4″. Stamp the mushroom image with the Memento ink in bottom left. Color the image with Dark Petal Pink, Dark Flirty Flamingo, Light Crumb Cake and Light and Dark Old Olive Stampin’ Blends. Adhere to inside of card.
I had such fun making this card and it brought a smile to my face as I was working on it!
Thanks for stopping by today! Wishing you a very Happy and Healthy New Year!


There are just a few days remaining for the July-December Mini Catalog sales period. Here are links to the Retiring Products List and the Carryover List. A number of products have been discounted from 10%-50% so be sure to check out those items. As of today, many items are no longer available. Note that any items on the Carryover list with an asterisk next to them indicates that they will not be orderable again until the July-December 2022 Mini Catalog is released.

Place an online order between $50 and $149 and use this host code for December. You will receive a free gift from me the following month. If your order is $150 or more DO NOT use the host code. You will qualify for Stampin’ Rewards.
Product List  | ||
 | ||
 |  |  |
 |  |  |
 |


 Host Designer Series Paper")


