
Hello!
I’m back from being MIA for almost two months and I can’t believe it’s been that long since my last post! I’ve been holding my monthly card classes but haven’t had time to post any of the projects. February through the end of April is always a crazy busy time of the year for me. No, I’m not an accountant dealing with client tax returns LOL!! However, I am the administrator on the Business Development Team (also known as fundraising) for a major non-profit business organization in Lancaster County and our big annual awards luncheon will be held in two weeks so I’ve been working with all of our sponsors and the luncheon team to keep track of registrations, as well as working with our graphic designer on the luncheon program. This is painstaking, detailed work so I’ve had to give most of my attention to this event, including the last few weekends. I’m itching to work on card projects and can’t wait for my pre-order to arrive next week so maybe I can do a little bit of stamping before my work on this project ends! I hope to begin posting on a regular basis again very soon.

The 2023-2024 Annual Catalog and January-April 2024 Mini Catalog sales period ends on April 30th which means our Last Chance sale has begun. Save up to 60% on selected items, while supplies last.
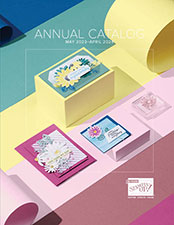
Click on the cover to view the list of retiring products from the 2023-2024 Annual Catalog.
Click on the cover to view the list of retiring products from the January-April 2024 Mini Catalog.


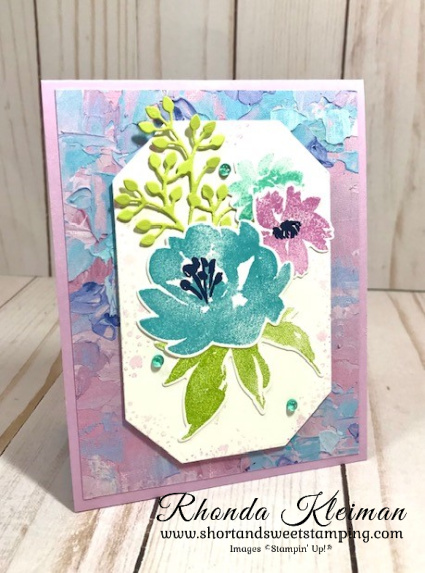
It is always sad to say goodbye to many favorite products, including the 2022-2024 In Colors. The colors are Sweet Sorbet, Parakeet Party, Orchid Oasis, Starry Sky, Tahitian Tide. I just checked inventory and all of the ink refills are sold out, however all of the cardstock, stamp pads and Stampin’ Blends are still available, so if you have some retiring In Color favorites, now is the time to stock up!
Price changes on a number of staple items will be in effect beginning on May 1st. Stock up now!

This is a sneak peek of the cover for the new annual catalog! As you can see, it looks quite different from past covers! The inside pages have been redesigned as well. If you are one of my customers and have made purchases in the last year you will automatically get a catalog from me in the mail. If you do not and would like one please contact me and I would be happy to send one out to you.

Place an online order between $50 and $149 and use this host code for April. You will receive a free gift from me the following month. If your order is $150 or more DO NOT use the host code. You will qualify for Stampin’ Rewards.
Thanks for stopping by today!


")


")
")

 Designer Series Paper")
 Specialty Paper")


")

 Designer Series Paper")


")


 Designer Series Paper")


")
")


