

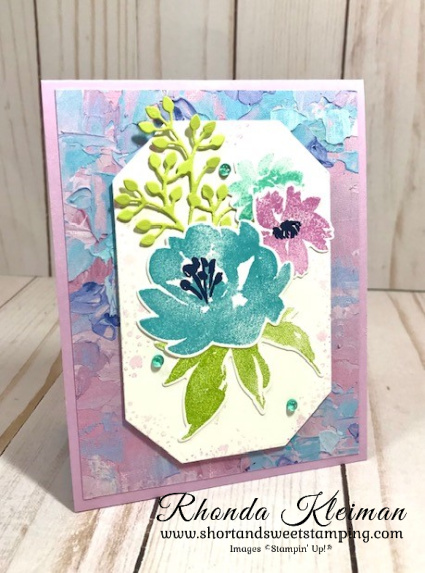
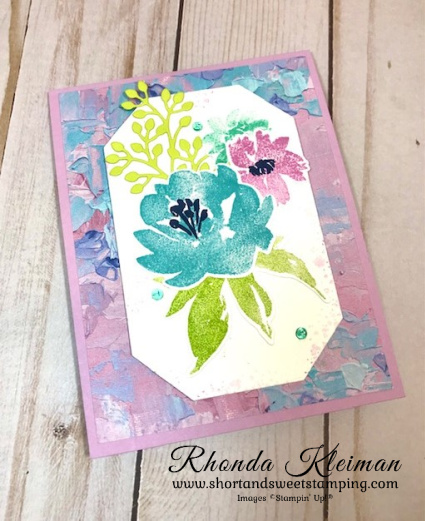
Today’s card features the Textured Floral Bundle. I’ve been wanting to make an explosion card for quite some time and decided to give it a go with this project. I used the Fancy Flora Designer Series Paper which was in the January-April Mini Catalog and is now retired. I try not to use many retired products in my projects, however I thought it would make a pretty background for the flowers as well as the explosion piece inside the card.
Here is how I made the card.
- Card base – cut a piece of Fresh Freesia cardstock at 4 1/4″ x 11″, score at 5 1/2″, fold and crease with a bone folder.
- Cut a piece of the Fancy Flora DSP at 4″ x 5 1/4″ and adhere to card front.
- Cut a piece of Basic White cardstock at 3 1/2″ x 5″ and run through the Stampin’ Cut & Emboss Machine with the 2nd largest Countryside Corners die. Use the stamp with splotches to stamp around the edges with Fresh Freesia ink. Stamp off each time before stamping onto the cardstock.
- Stamp flowers and leaves on piece of Basic White cardstock with Fresh Freesia, Balmy Blue, Pool Party and Lemon Lime Twist inks. Stamp stamens with Orchid Oasis ink. Run through Stampin’ Cut & Emboss Machine with coordinating Textured Florals Dies. Cut a scrap piece of Lemon Lime Twist cardstock and run through machine with the leaf die. Adhere all die cut pieces to the Countryside Corners piece.
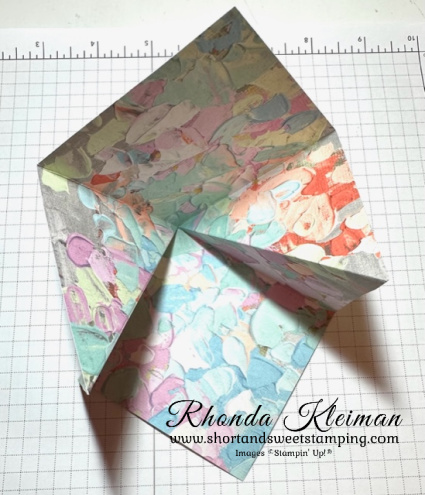
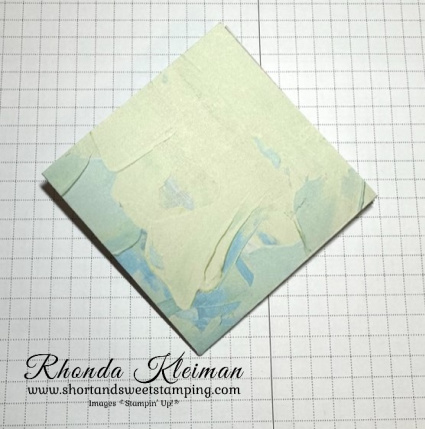
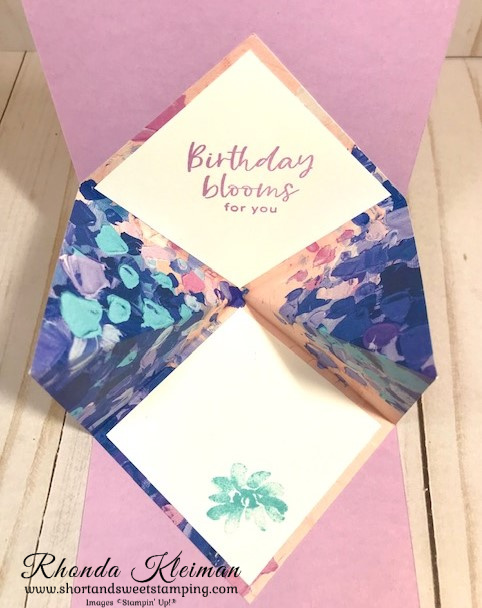
- To make the inside explosion piece, either cut a 6″x6″ piece from a 12″x12″ piece of DSP or use a piece from a 6″x6″ pack of DSP. Score at 3″ horizontally and vertically. Score diagonally from the upper right corner to the lower left corner. Fold along score lines, creasing with a bone folder. Fold the diagonal creases out (mountain) and then fold the entire piece into a square, as shown in the photos.
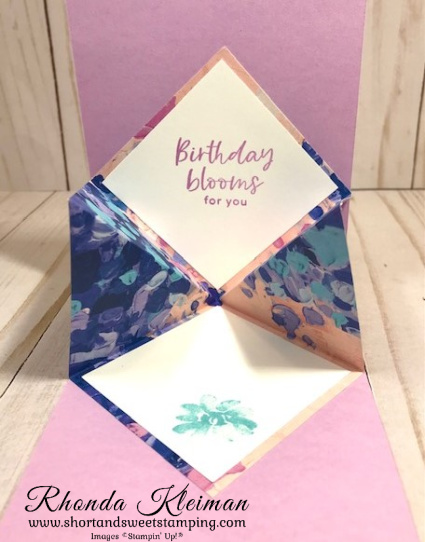
Adhere the explosion piece to the inside of the card. The square should have the folds at the top and the open edges at the bottom. Add adhesive to the top and bottom square. Center the top of the folded piece up against the inside of the card score line. The left and right corners of the square should be touching the edges of the card base. Close the card to adhere the piece to the inside panels.
- Cut two Basic White squares at 2 3/4″ square. Stamp greeting on one of the squares and stamp small flower image on the other square. Adhere to the DSP.
- Adhere Countryside Corners collage piece to card front with Stampin’ Dimensionals.
- Add a few gems from the Tinsel Gems Three Pack for a bit of bling.
Thanks for stopping by today!


In honor of SU’s 35th anniversary, this month there are two amazing options for joining!
- Option 1- Get 35% off the regular cost of the Starter Kit. Receive $125 in merchandise for only $64.35.
- Option 2 – Get 35% more product with the Starter Kit. You will receive $168.75 worth of product by spending only $99.
- Both kits include free business supplies and free shipping.
In addition, if you sign up by the October 31st deadline, you will also be automatically registered for FREE to our virtual OnStage event on November 11th, a $77 value!
For further details and to join, click here.

Place an online order between $50 and $149 and use this host code for October. You will receive a free gift from me the following month. If your order is $150 or more DO NOT use the host code. You will qualify for Stampin’ Rewards.
Product List  |  | |
 | ||
 | ||
 |  |  |
 |  |  |
 |
")


