
Hello!
I’ve been mostly absent for the last six weeks. Every time I think I’m making good progress in catch-up mode, something comes along to take me backwards! I don’t like bringing much of my personal life into my blog posts, but sometimes I have to because it has an impact on my business. Most of my business is in-person classes and a small part is online, including my blog. I have a bad knee and to make a long story short, I developed bad pain in the back of my knee and leg in the last week of May. I had to make a trip to the ER and and thankfully, an ultrasound showed no blood clots. It turned out to be a baker’s cyst that burst and caused bad swelling and a huge hematoma from my calf all the way down to my foot, which was not a pretty sight! It took weeks to heal and when I was finally feeling better, out of the blue I tested positive for COVID two weeks ago. I managed to escape it for the last four year and it finally caught up with me. Luckily it was mild and I tested negative last Thursday. Now that I’m feeling better, my house is in chaos again as of this week. My bathroom is being renovated from floor to ceiling – a total gut job! This will be the last big renovation I do in my home. Things will be very unsettling for me in the next six weeks, however, because I don’t have any classes scheduled until later in August, it will give me the opportunity to catch up on blog posts. I’ve been making cards for my monthly classes and other occasions and haven’t had time to photograph them and write the posts until now.
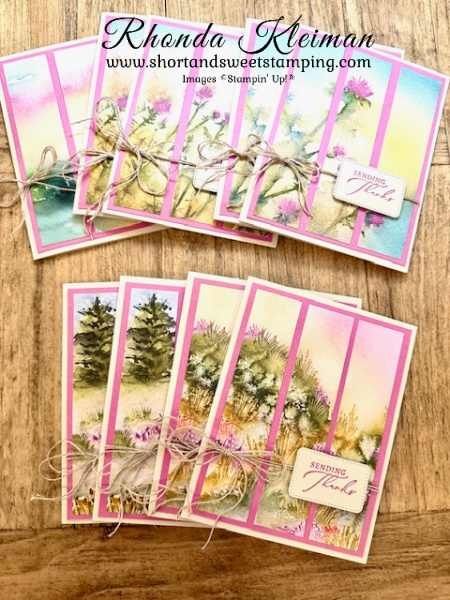
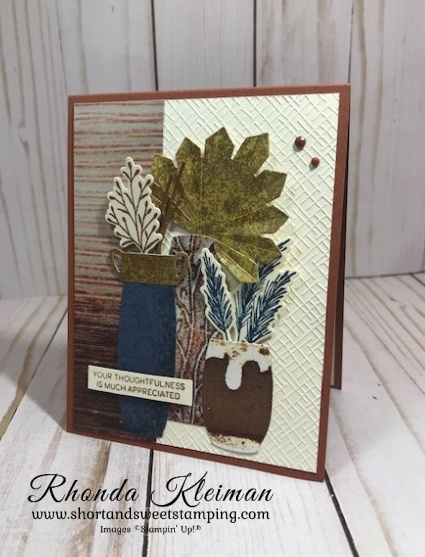
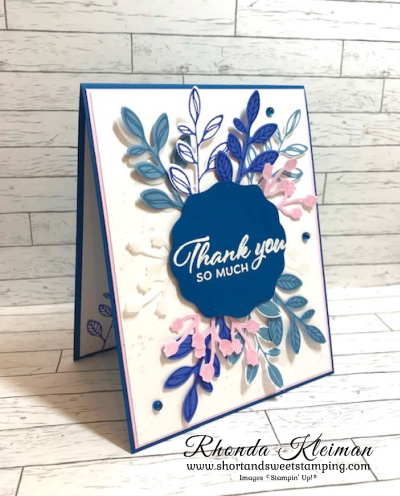
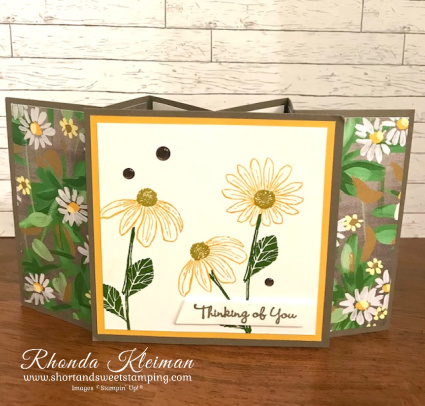
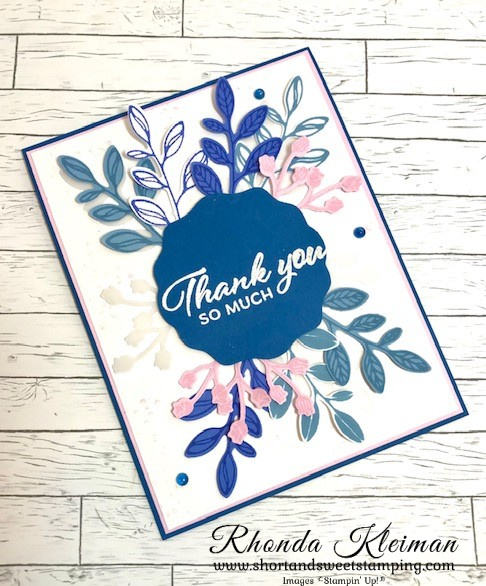
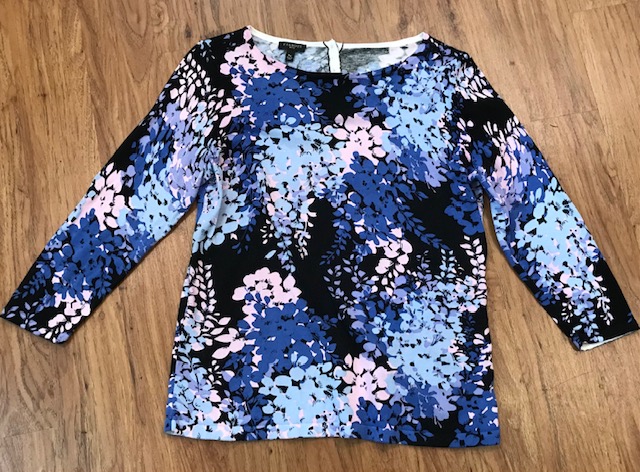
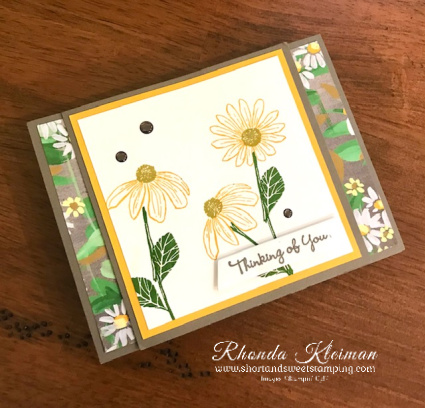
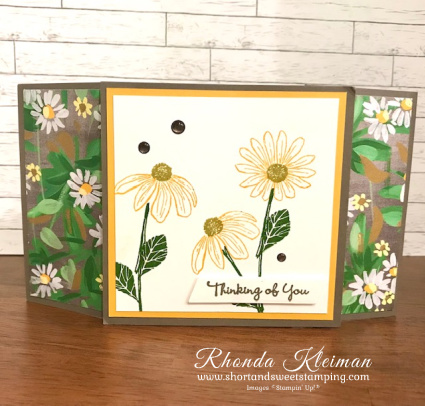
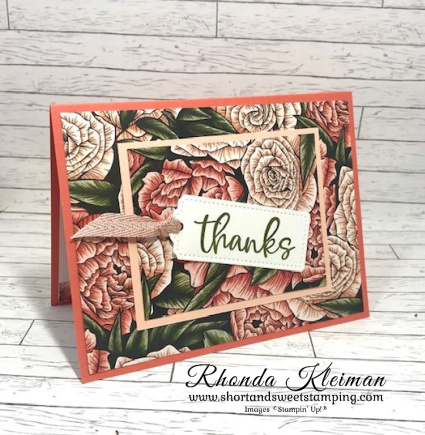
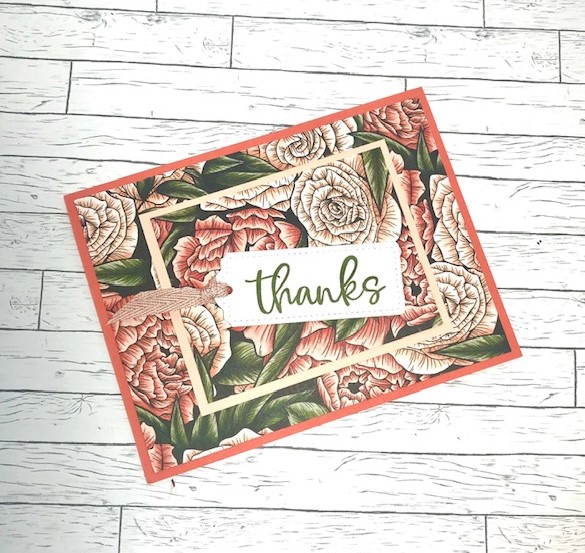
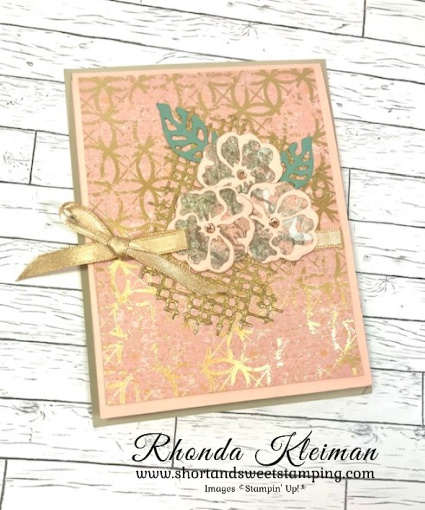
Today I’m featuring the beautiful Thoughtful Journey 6″ x 6″ Designer Series Paper from the Thoughtful Journey Suite. The scenes and colors are so pretty! I made my June customer thank you notes with the DSP and followed one of the card layouts on page 22 in the AnnuaI Catalog. It is a quick and easy layout and is a nice way to feature DSP.
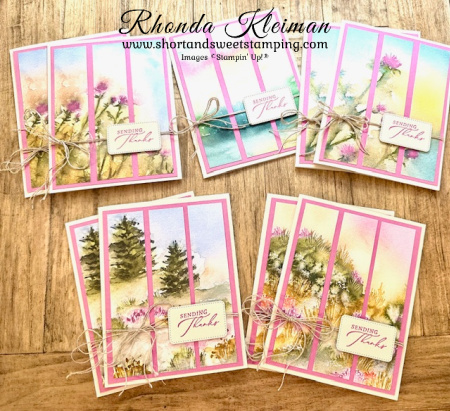
Here is how I made the cards.
- Card bases – Basic Beige cut at 5 1/2 x 8 1/2″, scored at 4 1/4.
- Mat – Petunia Pop cardstock, cut at 4″ x 5 1/4″
- Strips – cut three pieces of DSP at 1 1/8″ x 5″. When cutting the length, decide which part of the scene you want to emphasize and cut either from the top or the bottom of the paper.
- Adhere the strips to the Petunia Pop cardstock, spacing evenly.
- Cut two 22″ lengths of linen thread, wrap around Petunia Pop piece and tie into a bow. Trim tails.
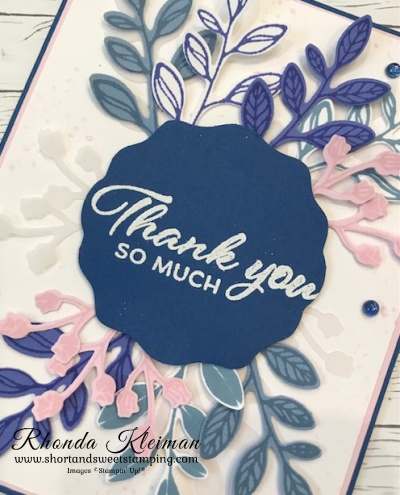
- Stamp greeting with Petunia Pop ink on scrap piece of Basic Beige cardstock. I used the greeting from the Stippled Roses stamp set. Run through die cutting machine with the smallest of the rounded rectangular dies from the Nested Essentials. Adhere to card front with Stampin’ Dimensionals.
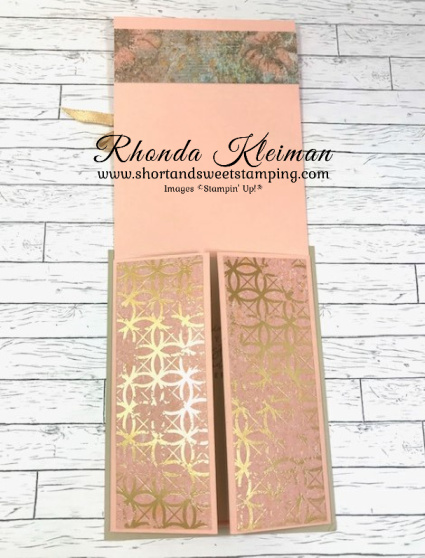
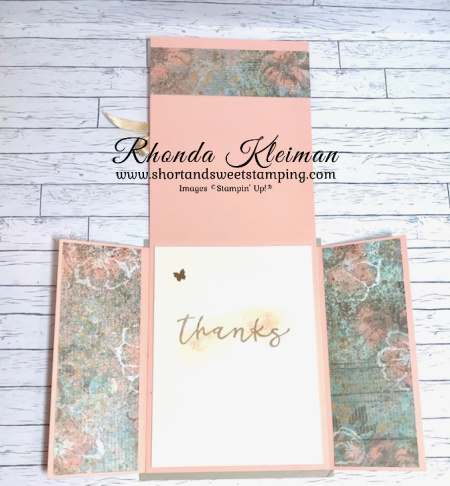
- For the inside of the card, cut a piece of Basic White cardstock at 4″ x 5 1/4″. Using a piece of leftover DSP, cut a strip at 3/4″ x 4″and adhere to the bottom of the cardstock. Adhere to inside.
Thanks for stopping by today!


Bonus Days are here again! When you shop now through July 31 you will earn a $5 coupon for each $50 you spend. There is no limit to how many coupons you can earn. All coupon codes will be emailed right after a qualifying purchase. If you earn multiple coupons for a single order you will receive one email with multiple codes. The redemption period is August 1-31. Please remember to keep the emails you receive with the codes. You will need to enter the codes when you redeem the coupons.
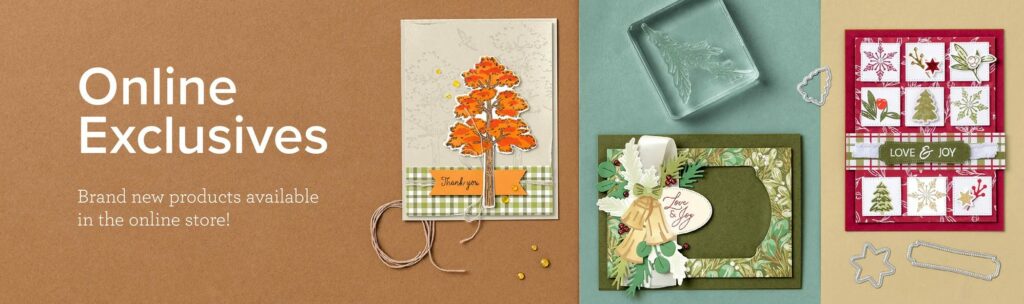
A new collection of Online Exclusives products is now available for purchase. If you are someone that likes to get a head start on making holiday cards, you will not be disappointed by this latest bunch of Online Exclusives. There are sets for autumn, Halloween and Christmas. The best way to see what is available is through my online store. There is no fixed end date for Online Exclusives! Some products will be reordered when inventory is low, and others will only be available while supplies last. This way we can offer even more new products throughout the year.

Place an online order between $50 and $149 and use this host code for July. You will receive a free gift from me the following month. If your order is $150 or more DO NOT use the host code. You will qualify for Stampin’ Rewards.
Product List  | ||
 |  | |
 |  |  |
 |  |  |
 |  |  |
")
 Designer Series Paper")


")
")

 Designer Series Paper")
 Specialty Paper")


")


")


 Designer Series Paper")


 Bordered Ribbon")


")
")
 Designer Series Paper")


")
")


 Designer Series Paper")


")
")
")

 Specialty Designer Series Paper")


 Shimmer Ribbon")


